14 Ways to Organize Open Shelves in the Kitchen
This site contains affiliate links, view the disclosure for more information.
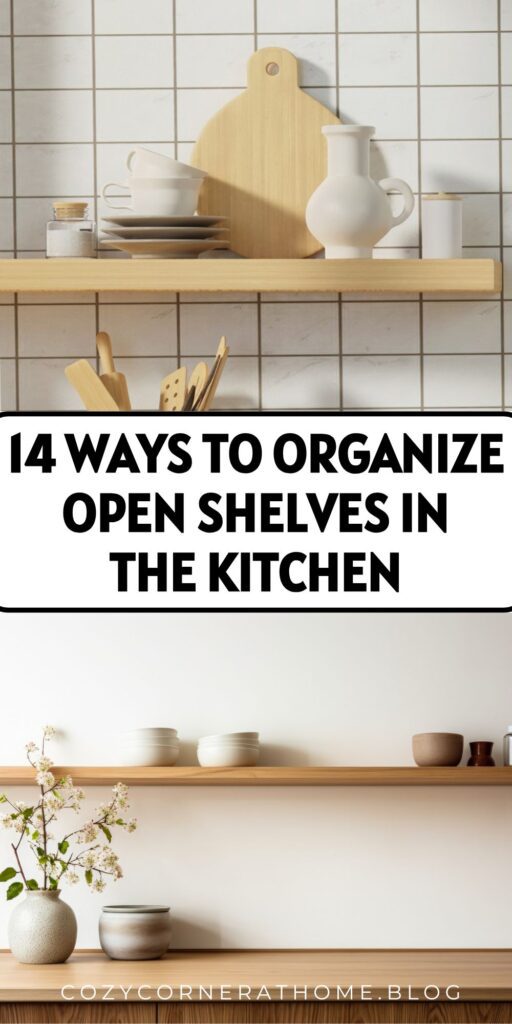
Open kitchen shelves can create visual clutter or become a functional storage solution. The difference depends on how you organize open shelves. Clear systems make items easy to find and maintain a clean appearance.
This guide covers 14 methods to organize open shelves in the kitchen. Each method includes specific steps, tools, and placement strategies. These techniques work for standard floating shelves, built-in open shelving, and converted cabinet spaces.
Assess Your Shelf Space and Inventory
Walk through your kitchen and measure each open shelf. Write down the width, depth, and height of each space. Count how many items you need to store.
Group items by type on your counter or table. Separate dishes, glassware, food containers, cooking tools, and pantry items. Remove anything you no longer use. This step shows you exactly what needs a place on your shelves.
Group Items by Daily Use Frequency
Place items you use every day at eye level, between chest and shoulder height. This zone should hold coffee mugs, everyday plates, and cooking oils.
Store occasional-use items on higher shelves. Holiday dishes, specialty baking tools, and seasonal serving pieces can go above eye level. Keep backup supplies and bulk items on the lowest shelves.
This arrangement reduces reaching and bending during routine tasks.
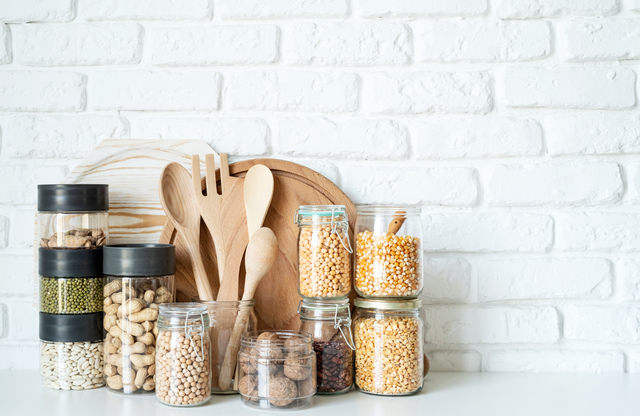
Use Uniform Containers for Visual Consistency
Choose containers in the same color, material, and style. White ceramic canisters, clear glass jars, or wire baskets all work well when used consistently.
Transfer dry goods like flour, sugar, rice, and pasta into matching containers. Stack similar-sized containers to maximize vertical space. Label each container on the front or top.
Uniform storage creates a cohesive look and makes it easier to organize open shelves by category.
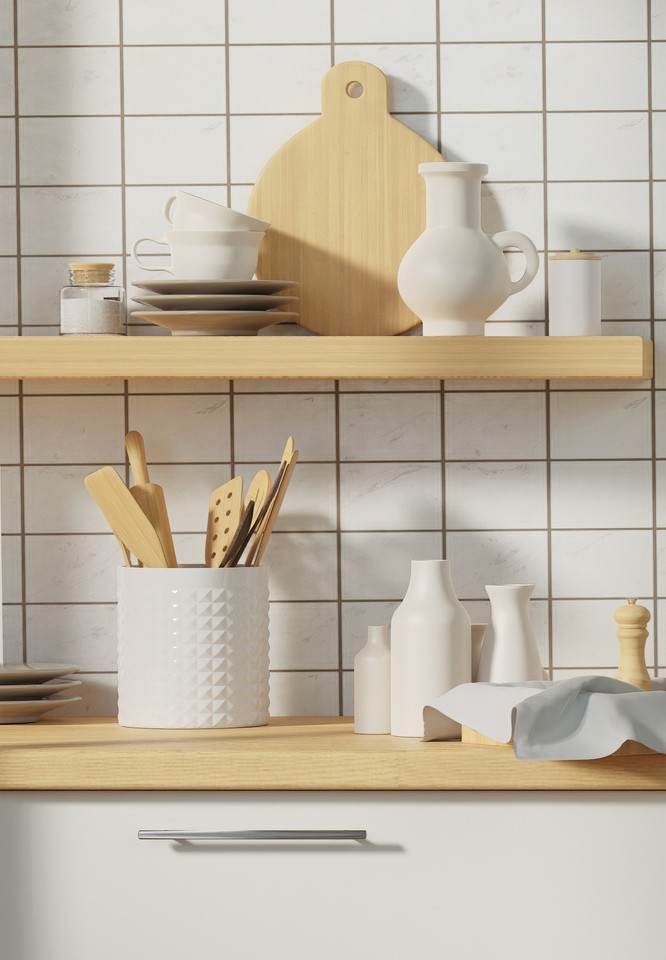
Organize by Category in Dedicated Zones
Assign each shelf or shelf section to one category. Keep all baking supplies together, all breakfast items together, and all dinner prep items together.
Within each zone, arrange items from largest to smallest. Place tall items toward the back and shorter items in front. This layering lets you see everything at once.
Category-based organization reduces the time spent searching for specific items.
Also Read: 15 Ways to Stop Pantry Shelves From Getting Messy
Install Tiered Shelf Risers
Shelf risers create two levels of storage on a single shelf. Place risers toward the back of the shelf. Store shorter items like spice jars or small bowls on the riser. Place taller items in front at the original shelf level.
Wire or acrylic risers work best because they do not block your view. Measure your shelf depth before buying risers. Leave at least 2 inches of clearance between the riser and the shelf above.
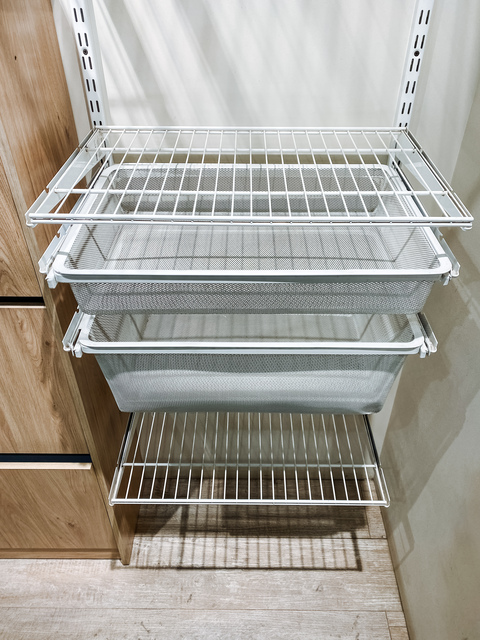
Add Basket Systems for Small Items
Wire, wicker, or fabric baskets contain loose items that would otherwise create clutter. Use baskets for snack packages, tea bags, napkins, or small kitchen tools.
Choose baskets that fit the full depth of your shelf. Pull-out wire baskets work well on lower shelves. Label the front of each basket so you know what is inside without removing it.
Baskets prevent small items from falling off open shelves.
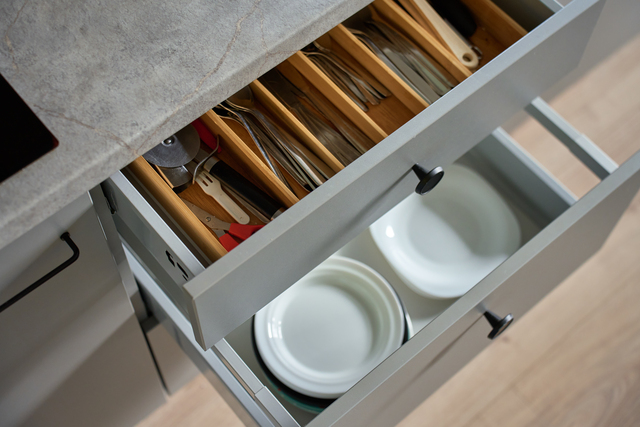
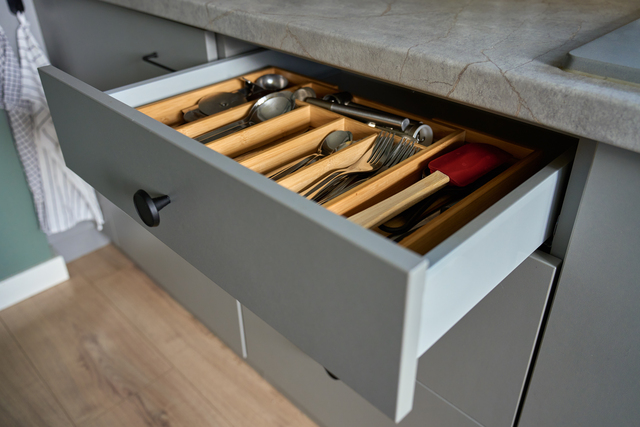
Use Shelf Dividers for Vertical Stacking
Metal or acrylic shelf dividers create compartments within a single shelf. These dividers keep plates, cutting boards, and baking sheets upright and separated.
Install dividers 1 to 2 inches apart for plates. Space them 3 to 4 inches apart for larger items like serving platters. Adjustable dividers let you modify spacing as your needs change.
Vertical storage makes it easier to remove one item without disturbing the entire stack.
Keep Daily Dishes at Eye Level
Store the plates, bowls, and glasses you use every day between 48 and 60 inches from the floor. This height range requires minimal reaching.
Stack no more than 6 to 8 plates in one pile. Heavy stacks become difficult to lift safely. Place smaller dessert plates in front of dinner plates so both are visible.
Reserve eye-level shelves for the items you handle most often.
Label Everything for Quick Identification
Use a label maker, chalkboard labels, or printed tags. Place labels on the front of containers, baskets, and shelf edges.
Include the item name and expiration date if storing food. Update labels when you change what is stored in a container or basket.
Labels help other household members return items to the correct location. They also speed up meal prep when you need to find ingredients quickly.
Read More:
- 21 Ways to Organize a Small Kitchen on a Budget
- How to Organize Kitchen Drawers Without Dividers
- 15 Under-Sink Organization Tips for Pipes That Block Storage
Arrange Items by Color or Size
Group dishes, glasses, or containers by color to create a gradient effect. This arrangement is visually appealing and makes it easy to organize open shelves in a decorative way.
Alternatively, arrange items by size from largest to smallest. Place large serving bowls on the left and small prep bowls on the right, or vice versa.
Visual organization systems work well when you have matching dish sets or cohesive kitchenware.
Use Turning Trays for Corner Shelves
Rotating trays make items in the back of deep shelves accessible. Place a turning tray on corner shelves or shelves deeper than 16 inches.
Store oil bottles, spice jars, or small containers on the turning tray. Group similar items together so everything rotates as one organized unit.
Spin the tray to bring items forward instead of reaching into dark corners.
Install Hooks Underneath Shelves
Screw-in or Adhesive hooks attach to the underside of open shelves. Hang mugs, measuring cups, or small kitchen tools from these hooks.
Space hooks 3 to 4 inches apart. Ensure mugs hang freely without touching each other. Limit weight to manufacturer recommendations to avoid shelf damage.
Hooks add storage without taking up shelf surface space.
Related Post: 6 Fixes for Cabinets With Hard to Reach Corner Space
Store Appliances on Lower Shelves
Place heavy appliances like stand mixers, blenders, and food processors on the lowest open shelves. These items are easier to lift when stored below waist height.
Position appliances you use daily at the front of the shelf. Push appliances you use weekly or monthly toward the back. Unplug appliances and wrap cords before storing them.
Lower shelf placement reduces the risk of dropping heavy items.
Implement the Triangle Work Zone
Position frequently used items near your main work areas. Store cooking oils and spices near the stove. Keep cutting boards and prep bowls near the counter workspace. Place coffee and mugs near the coffee maker.
This arrangement follows the kitchen work triangle principle. It reduces unnecessary movement while cooking.
Organize open shelves based on where you actually use each item, not where they look best.
Set Boundaries for Shelf Capacity
Limit each shelf to 70-80% of its total capacity. Overcrowded shelves look cluttered and make items difficult to access.
Measure the linear inches available on each shelf. Assign specific items to each shelf and ensure they fit within the capacity limit. If shelves feel too full, store some items in closed cabinets instead.
Open shelves work best for items you use regularly and want to display. Store backup stock, rarely used items, and unattractive packaging in closed storage.
Empty space on open shelves creates visual breathing room and makes the organization system sustainable.
For more helpful tips, check out our organization section.