18 Pantry Storage Ideas for Narrow Spaces That Feel Small
This site contains affiliate links, view the disclosure for more information.
Narrow pantries present unique storage challenges. Limited width makes it difficult to access items stored in the back or organize containers efficiently. Effective pantry storage ideas can maximize every vertical inch and create functional zones in spaces as tight as 12-18 inches wide.
These solutions focus on vertical organization, slim-profile containers, and door-mounted systems. Each method addresses specific narrow-space problems like wasted height, hidden back-row items, and limited shelf depth. The techniques below require minimal tools and can be installed in most rental or owned spaces.
Measure the Interior Dimensions First
Record the width, depth, and height of your pantry interior. Measure the distance between existing shelves if they are fixed. Note the door swing clearance to ensure new organizers will not block access.
Identify obstructions like electrical outlets, light fixtures, or wall studs. These will determine mounting options for shelving brackets or hanging systems. Write down measurements before purchasing any storage products.
Install Over-Door Racks for Immediate Space
Over-door racks hang on the inside of the pantry door without tools. Most models accommodate doors 1.25 to 1.75 inches thick. Choose racks with multiple baskets or adjustable shelves for versatility.
These work best for lightweight items like spice jars, packets, or snack bags. Avoid overloading door racks, as excessive weight can damage door hinges over time. Test the door’s ability to close fully after installation.
Also Read: 15 Ways to Stop Pantry Shelves From Getting Messy
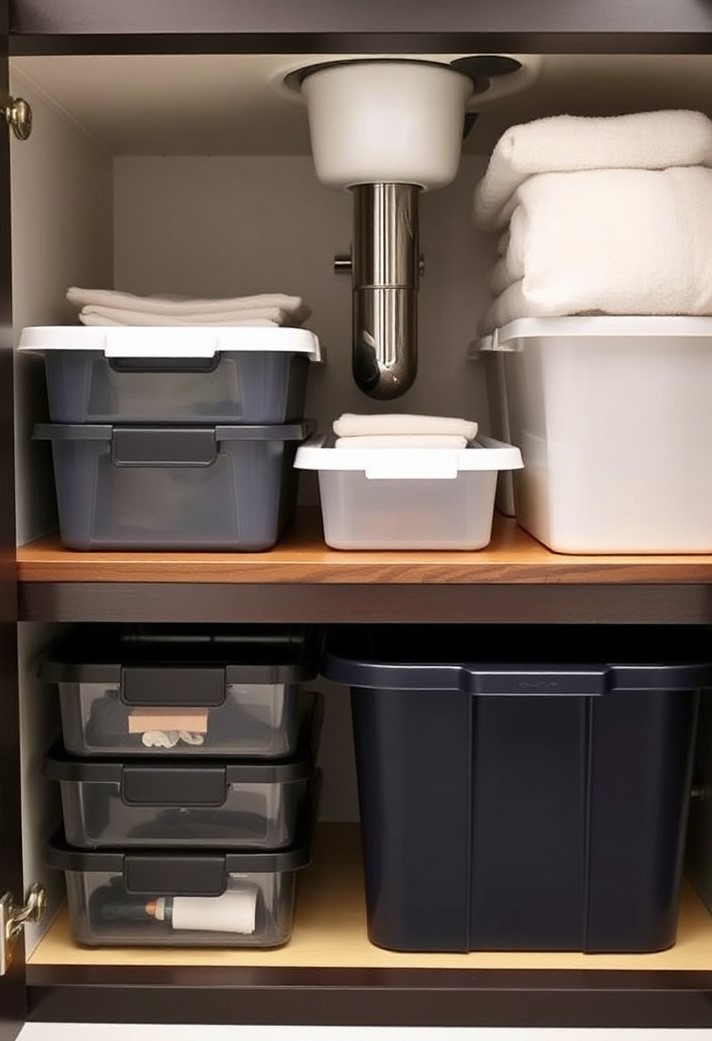
Use Stackable Clear Bins to Group Categories
Clear plastic bins with handles allow you to pull entire categories forward at once. Stack bins vertically to use the full height between shelves. Label the front or top edge of each bin for quick identification.
Choose bins that are 4-6 inches wide for narrow pantries. This width fits most tight shelves while remaining easy to grip and remove. Group similar items like baking supplies, breakfast foods, or canned goods in separate bins.
Add Tension Rods to Create Dividers
Tension rods installed vertically create slots for storing flat items like cutting boards, baking sheets, or serving trays. Place rods 1-2 inches apart depending on item thickness. No drilling is required if the rod fits snugly between shelves.
Horizontal tension rods can also prevent items from falling forward on deep shelves. Install them 2-3 inches from the shelf edge to create a barrier. Adjust tension regularly to maintain grip strength.
Mount Wire Shelving Inserts for Extra Tiers
Wire shelf inserts sit on existing shelves and create a second tier underneath. Most models are 10-16 inches wide and 12-18 inches deep. They allow you to store mugs, small containers, or canned goods in the newly created lower space.
Look for models with adjustable legs to accommodate different shelf heights. Some inserts include hooks on the underside for hanging items like dish towels or small baskets.
Install Narrow Pull-Out Drawers Between Studs
Pull-out drawers designed for narrow spaces slide out on mounted tracks. These fit openings as slim as 6 inches wide. They work well for spice jars, oils, or small condiment bottles that get lost on standard shelves.
Locate wall studs before mounting the drawer tracks. Use a stud finder and mark positions with a pencil. Follow manufacturer instructions for weight capacity limits.
Use Turning Trays for Corner Access
Turning trays rotate 360 degrees to bring back items forward without reaching. Choose models 10-12 inches in diameter for narrow spaces. Two-tier versions double the storage capacity in the same footprint.
These work best for bottles, jars, or canned goods with stable bases. Avoid storing lightweight packages that can tip over during rotation. Wipe the turntable surface regularly to maintain smooth spinning.
Read More:
- 21 Ways to Organize a Small Kitchen on a Budget
- How to Organize Kitchen Drawers Without Dividers
- 15 Under-Sink Organization Tips for Pipes That Block Storage
Hang Adhesive Hooks for Bags and Utensils
Command hooks or similar adhesive hooks stick to the inside walls or door without nails. Use them to hang reusable shopping bags, measuring cups, or small kitchen tools. Most adhesive hooks hold 1-5 pounds depending on the model.
Clean the surface with rubbing alcohol before applying hooks. Press firmly for 30 seconds to activate the adhesive. Wait 24 hours before hanging items for maximum hold strength.
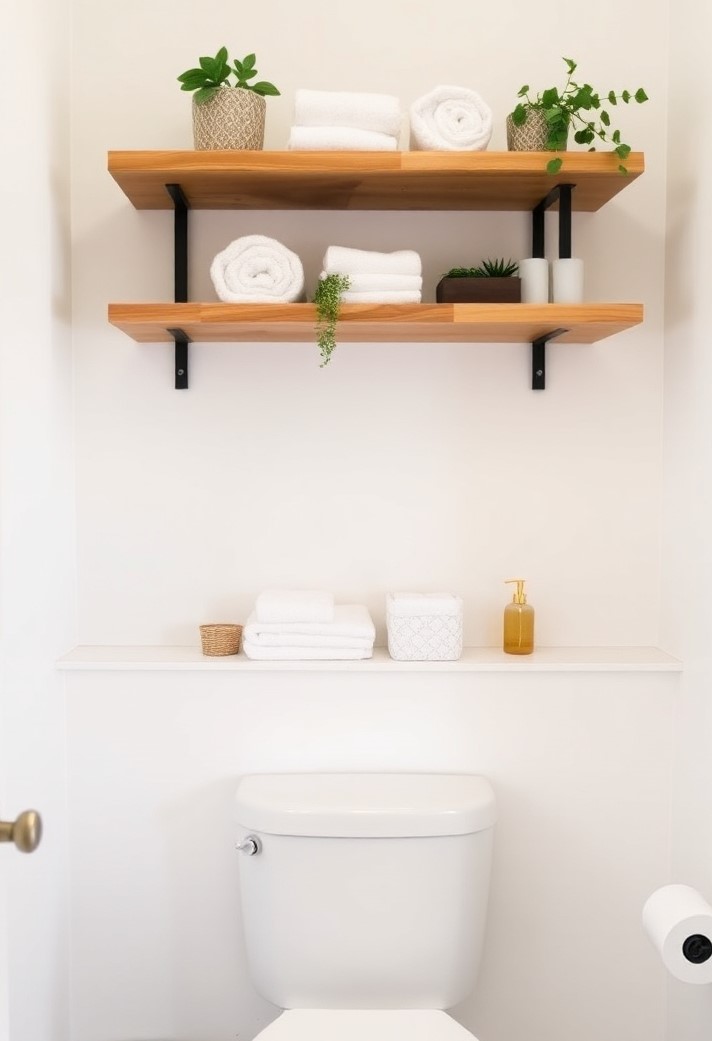
Install Adjustable Shelving Brackets
Adjustable shelving systems use metal tracks mounted vertically to the wall. Brackets clip into the tracks at any height, allowing you to customize shelf spacing. This eliminates wasted vertical space between fixed shelves.
Measure the distance between items to determine ideal shelf heights. Mount tracks directly into wall studs for maximum weight capacity. Most systems support 50-100 pounds per shelf when properly installed.
Store Items in Magazine Holders Vertically
Magazine holders or file organizers positioned horizontally store pouches, seasoning packets, or boxed mixes. Place them on shelves with the open end facing out. This keeps flat packages upright and visible.
Choose holders 4-5 inches wide to fit narrow shelves. Label the spine or top edge of each holder with category names. Metal or plastic versions both work well in pantry environments.
Related Post: 6 Fixes for Cabinets With Hard to Reach Corner Space
Add a Sliding Basket System Under Shelves
Under-shelf sliding baskets attach to the underside of existing shelves. They create storage space in the gap between shelf levels. Most baskets are 10-12 inches wide and slide out on rails.
Install baskets at least 2 inches below the shelf surface to allow clearance. Use them for produce, bread, or items you access frequently. Check the weight limit before loading heavier canned goods.
Use Slim Rolling Carts in Gaps
Rolling carts 6-10 inches wide fit in gaps between appliances or at the end of narrow pantries. Look for models with three or more tiers to maximize vertical space. Locking wheels prevent the cart from rolling when stationary.
These carts work well as overflow storage for items used less frequently. Pull the cart out completely to access all tiers. Avoid placing the cart in high-traffic areas where it could create a tripping hazard.
Mount Pegboard Panels for Customizable Hooks
Pegboard panels attach to walls or the inside of doors using screws or adhesive strips. Insert pegs or hooks at any point to hang items like measuring spoons, scissors, or bag clips. Rearrange hooks as storage needs change.
Paint or cover pegboard to match pantry decor if desired. Space pegs 2-3 inches apart for most kitchen tools. Ensure pegboard is mounted into studs or use appropriate wall anchors for the material type.
Install Spice Racks on Unused Wall Space
Wall-mounted spice racks utilize narrow vertical wall sections that cannot accommodate full shelves. Choose racks 3-4 inches deep to hold standard spice jars. Tiered designs allow you to see labels on back-row jars.
Mount racks at eye level for easiest access. Measure jar heights before installation to ensure adequate clearance between tiers. Some models include clips or rails to prevent jars from falling.
Use Expandable Shelf Organizers
Expandable organizers adjust from 12 to 24 inches wide to fit varying shelf widths. They typically include 2-3 levels for stacking canned goods, jars, or boxes. Rubber feet prevent sliding on shelf surfaces.
Pull items from the front row and access back items without removing everything. Clean organizers monthly to prevent dust buildup between levels. Most models support 20-30 pounds total weight.
Add Narrow Drawer Organizers for Small Items
Drawer-style organizers 3-4 inches tall fit on shelves to corral small items like tea bags, seasoning packets, or snack bars. Dividers inside create separate compartments for different categories. Pull the entire organizer forward to access contents.
These work well on upper shelves where you cannot see into containers easily. Choose clear versions to identify contents without opening. Stack two organizers if shelf height allows.
Read More: 21 Ways to Organize a Small Kitchen on a Budget
Install Light Strips to Improve Visibility
Battery-operated LED light strips attach to the underside of shelves with adhesive backing. They illuminate lower shelves and back corners in narrow spaces. Motion-sensor versions turn on automatically when the door opens.
Measure shelf lengths before purchasing light strips to ensure proper coverage. Replace batteries every 6-12 months depending on usage frequency. Wipe light covers occasionally to remove dust and maintain brightness.
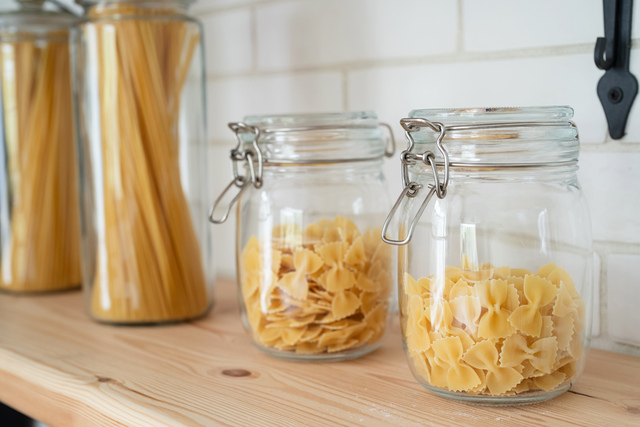
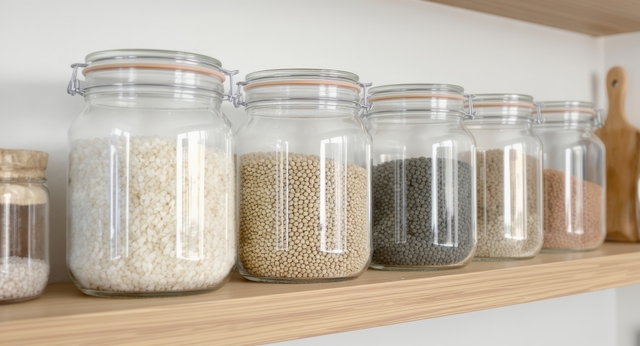
Use Airtight Containers in Uniform Sizes
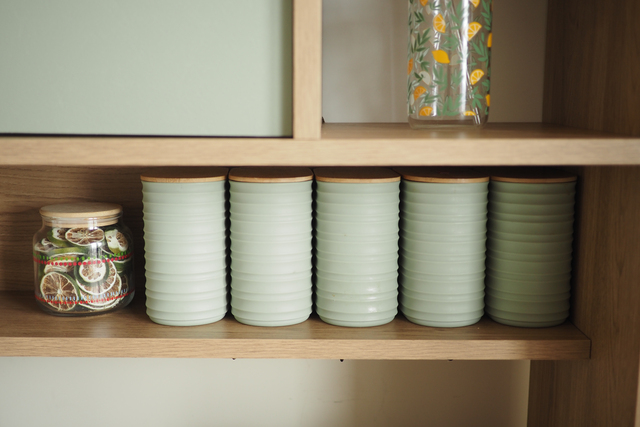
Airtight containers in matching heights and widths stack efficiently in narrow spaces. Square or rectangular shapes use space better than round containers. Choose sizes that fit the shelf depth minus 1-2 inches for finger clearance.
Transfer flour, sugar, pasta, and cereals into containers to reduce packaging bulk. Label each container with contents and expiration dates. Stack heavier containers on lower shelves to prevent tipping.
For more helpful tips, check out our storage section.