How to Store Baking Supplies in a Shared Pantry Cabinet
This site contains affiliate links, view the disclosure for more information.
Shared pantry cabinets create a common challenge: multiple people need access to different items, and baking supplies tend to take up more space than expected. Knowing how to store baking supplies efficiently makes the space work for everyone without constant reorganization.
This guide covers practical methods for organizing flour, sugar, leaveners, extracts, and tools within a shared cabinet. The goal is a system that stays functional over time, not just after an initial cleanup.
Whether you’re working with a single shelf or an entire cabinet section, these steps will help you store baking supplies in a way that’s accessible, clearly labeled, and compatible with shared use.
Safety and Preparation Before You Organize
Before placing anything in a shared cabinet, check for existing pests or moisture. Both can damage baking ingredients quickly and contaminate other pantry items.
Check the Cabinet First
- Remove everything currently in the cabinet.
- Inspect corners, shelf edges, and the back wall for moisture, mold, or insect activity.
- Wipe shelves with a damp cloth and allow them to dry fully before returning any items.
Do not store open or loosely sealed baking ingredients in a cabinet that has had past pest issues until it has been professionally treated.
Sort and Discard Before Organizing
Go through your baking supplies before assigning them a home.
- Discard any items past their expiration date.
- Check flour, cornstarch, and powdered sugar for clumping, which typically indicates moisture exposure.
- Consolidate partial bags of the same ingredient before storing.
This step reduces the volume you need to store and prevents contaminated ingredients from being used later.
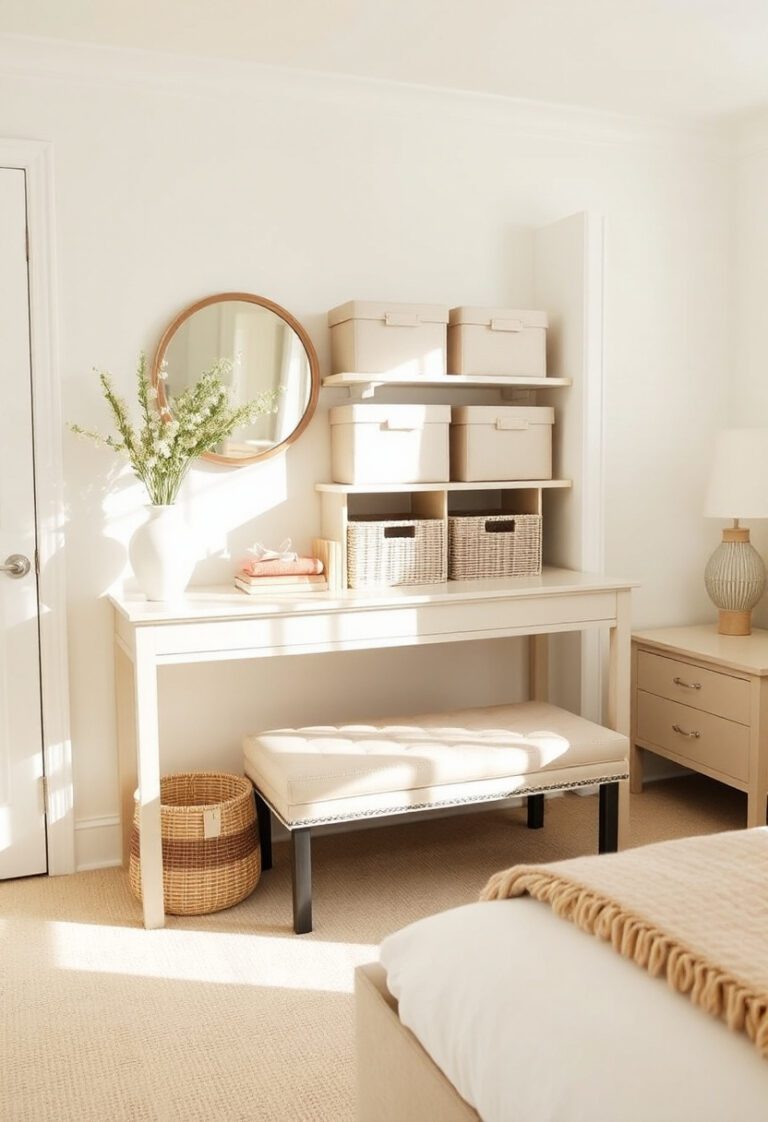
Assigning Dedicated Space in a Shared Cabinet
In a shared pantry, baking supplies need a clearly defined zone. Without one, items get displaced and the system breaks down quickly.
Decide on a Fixed Zone
- Choose one full shelf or one consistent section of a shelf for baking supplies only.
- Measure the shelf height, depth, and width before purchasing any containers.
- Communicate the zone to all household members so boundaries stay clear.
A vertical section on one side of the cabinet can work as well as a full shelf. The key is that the zone does not overlap with everyday pantry items.
Account for Frequency of Use
Place items used most often at eye level or front-center. Less-used items like cake flour or specialty extracts can go toward the back or on a higher shelf.
- Frequent use: all-purpose flour, sugar, baking soda, baking powder, vanilla extract
- Occasional use: cake flour, bread flour, cocoa powder, cream of tartar
- Rare use: specialty sugars, food coloring, edible decorations
Also Read: 18 Pantry Storage Ideas for Narrow Spaces That Feel Small
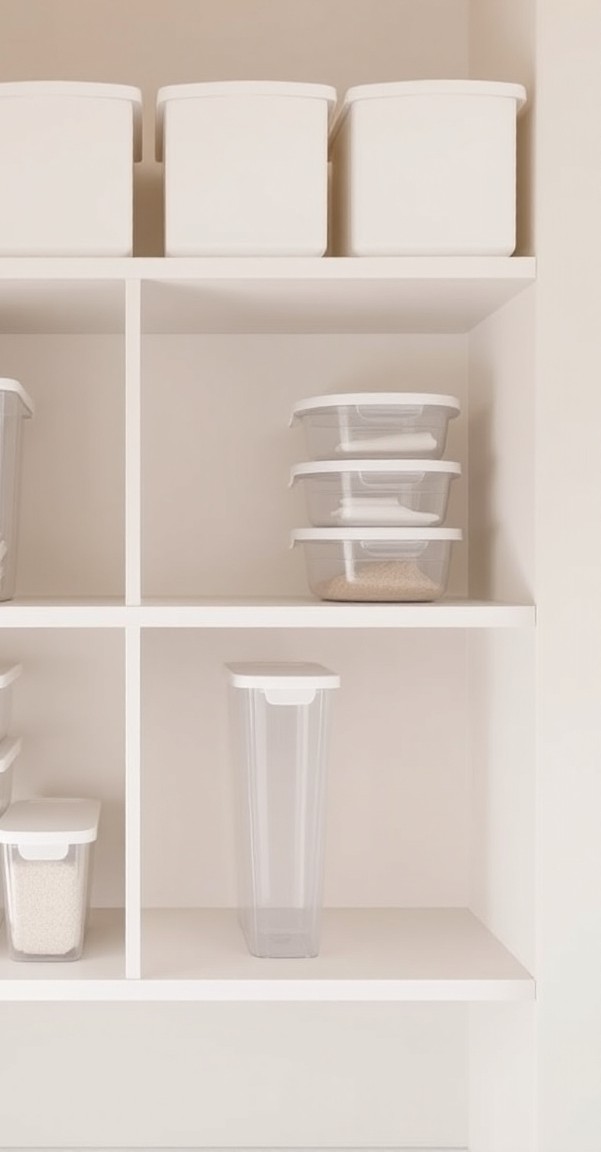
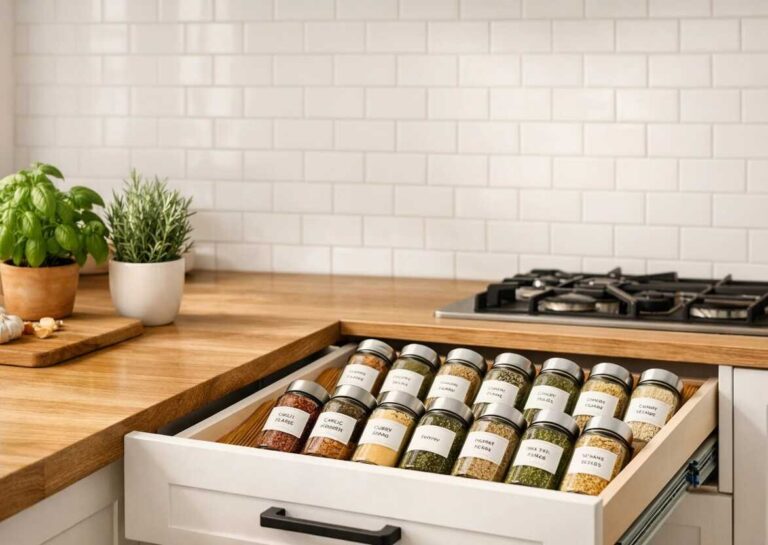
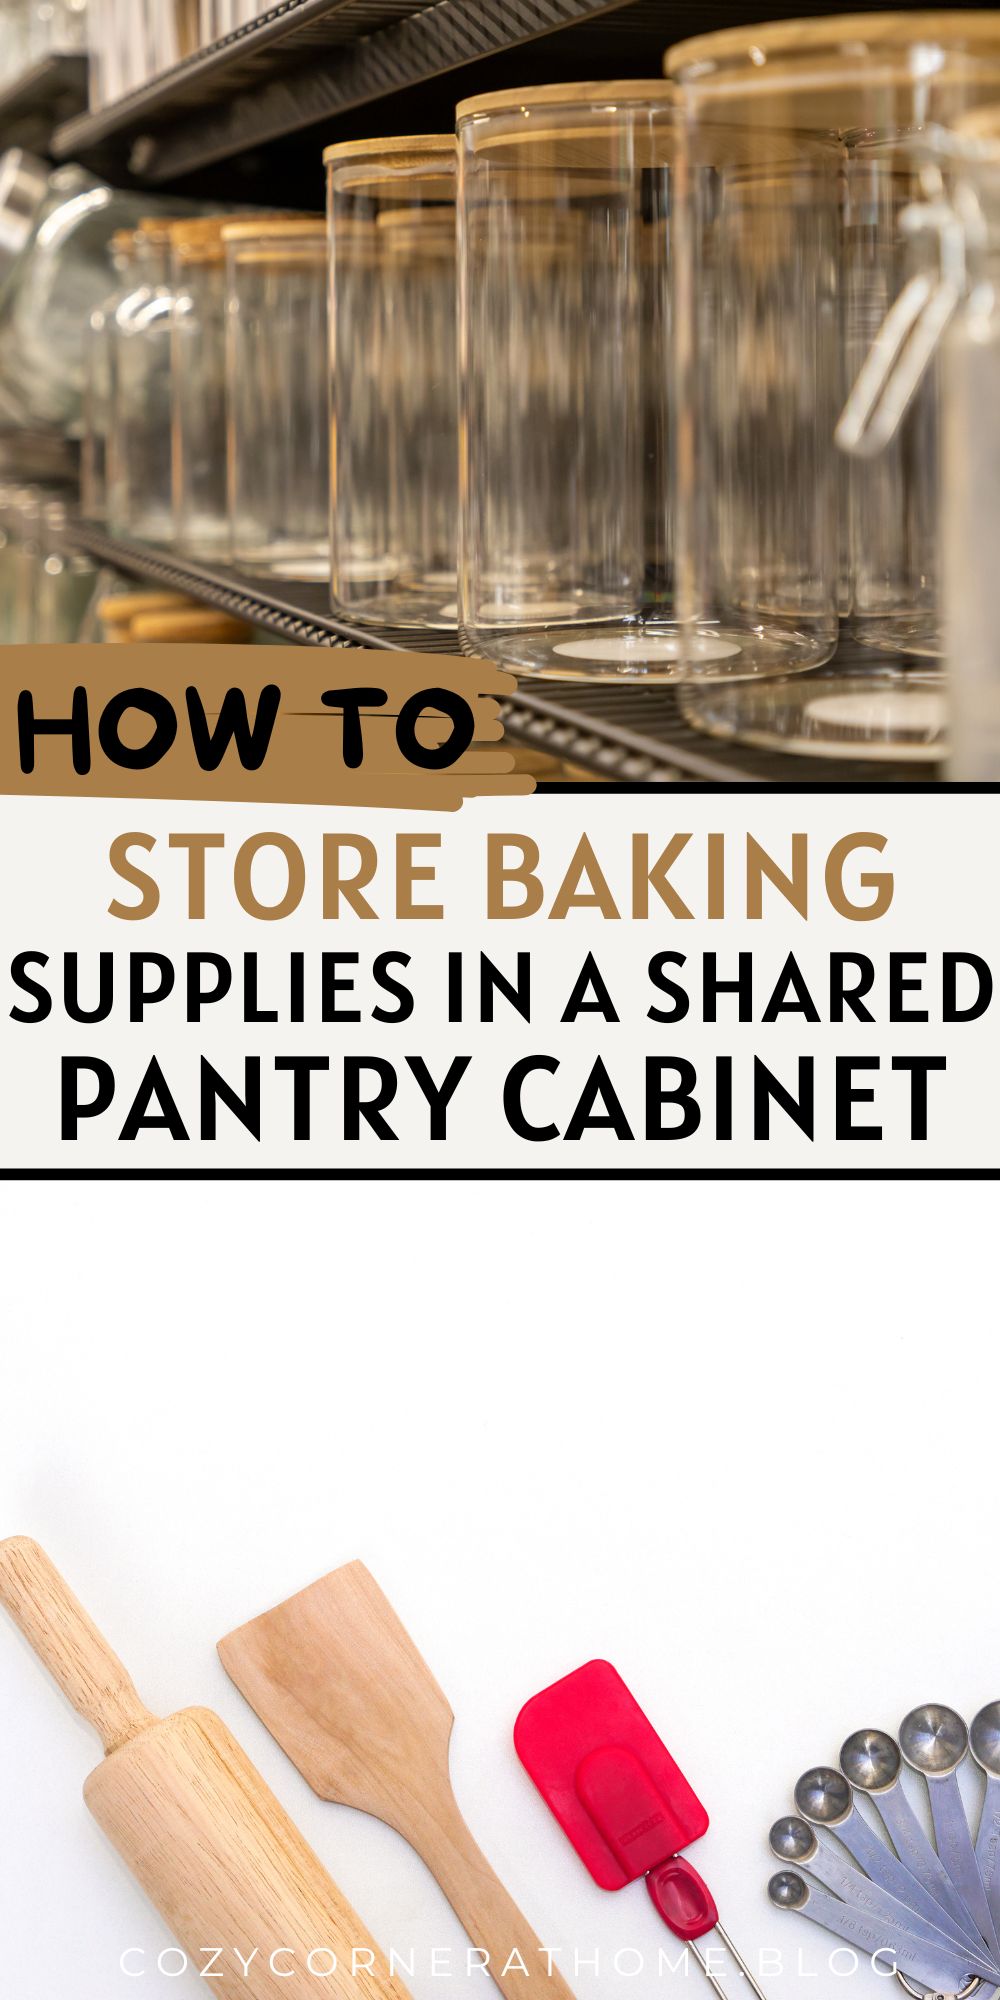
Airtight Containers: The Core Storage Method
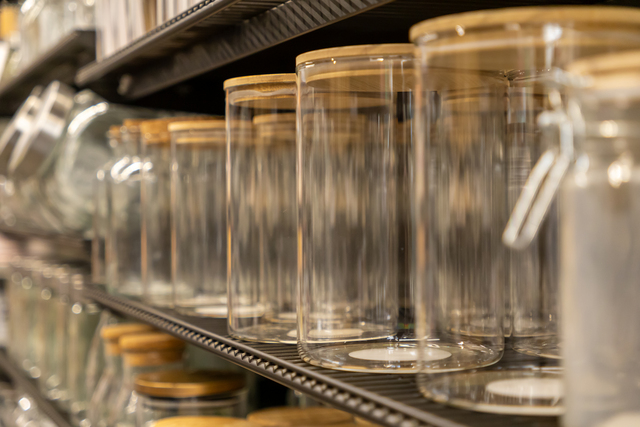
Transferring dry baking ingredients into airtight containers is the most reliable way to store baking supplies long-term. Original packaging, especially paper bags, is not designed for extended pantry storage.
Choosing the Right Containers
- Use containers with a secure lid seal, such as a silicone gasket or snap-lock closure.
- Clear containers allow you to check fill levels without opening them.
- Rectangular or square containers stack more efficiently than round ones in a shared cabinet.
- Common sizes: 1.5-quart for smaller items like baking powder, 4-quart for a standard 5-lb flour bag.
Label every container clearly with the ingredient name and the date it was transferred.
Transferring Dry Ingredients
- Wash and dry containers fully before first use.
- Pour the ingredient in using a wide funnel or scoop to reduce mess.
- Write the expiration date from the original packaging on the container label.
- Seal the lid firmly and check that it closes evenly on all sides.
For very fine ingredients like powdered sugar or cake flour, use a container with a tight seal to prevent fine particles from escaping into the shared cabinet space.
Organizing Small Baking Items and Loose Packaging
Not all baking supplies fit neatly into large containers. Leaveners, extracts, food coloring, and specialty ingredients need a secondary system.
Use a Bin or Tray to Group Small Items
A small bin or pull-out tray keeps small bottles, packets, and jars contained in one location.
- Choose a bin that fits within your assigned zone without overhanging the shelf edge.
- Group items by type: leaveners together, extracts together, colorings and decorations together.
- Place the bin at the front of the shelf for easy access.
Pull-out trays with handles work well in deep cabinets where items at the back are hard to reach.
Managing Yeast, Baking Powder, and Baking Soda
These items are often confused or used interchangeably in error. Keep them visually distinct.
- Store each in a separate labeled container or keep them in their original packaging placed inside a small labeled bin.
- Baking powder and baking soda can both be stored at room temperature, away from steam and heat sources.
- Active dry yeast and instant yeast can be stored at room temperature until opened, then refrigerated. Note this on the label so all users in the shared household know where to look for it after opening.
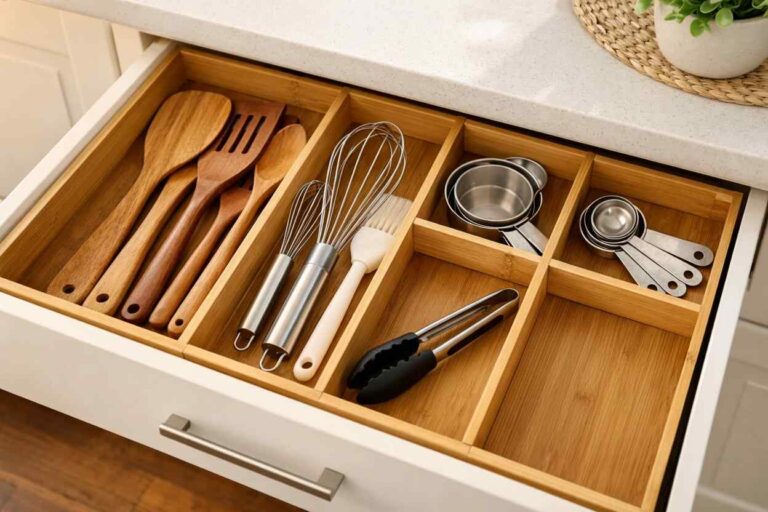
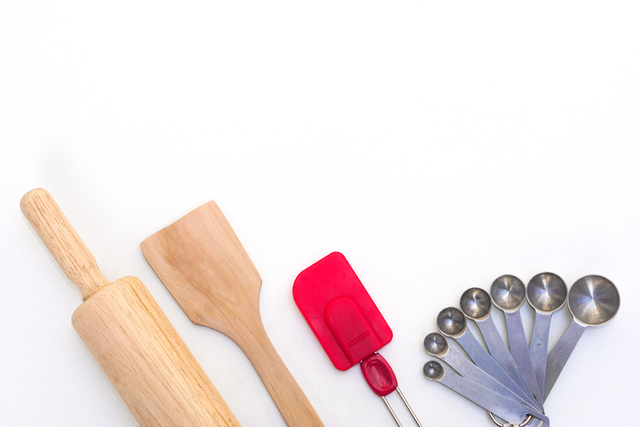
Storing Baking Tools in the Same Cabinet
If the shared cabinet includes space for baking tools, keep them from interfering with dry ingredients.
Separate Tools from Ingredients
Tools like measuring cups, sifters, and pastry brushes can release residual moisture or odors if stored directly against ingredient containers.
- Assign tools to a separate shelf or the cabinet door shelf if available.
- Ensure tools are completely dry before storing. Even small amounts of moisture can affect nearby dry ingredients over time.
- Nest measuring cups and spoons together and secure them with a ring or elastic band to prevent them from separating.
Vertical Storage for Trays and Boards
Sheet pans, cutting boards, and cooling racks do not fit well in standard shelf layouts.
- Use a vertical file organizer or pan rack insert to store flat baking items upright.
- Place this organizer at one end of the assigned zone so it doesn’t disrupt access to ingredients.
- Avoid stacking sheet pans flat unless the cabinet has a dedicated lower section with enough clearance.
Read More:
- 21 Ways to Organize a Small Kitchen on a Budget
- How to Organize Kitchen Drawers Without Dividers
- 15 Under-Sink Organization Tips for Pipes That Block Storage
Label Systems for Shared Pantry Use
Labels are essential in a shared cabinet. They reduce mistakes, prevent waste, and help all users return items to the correct location.
What to Include on Each Label
- Ingredient name (use large, readable text)
- Transfer date or expiration date
- Any special storage instructions (e.g., “refrigerate after opening”)
Use a label maker, printed stickers, or write-on tape. Masking tape with a permanent marker is a practical low-cost option.
Placement Consistency
Place all labels on the same side of each container, typically the front-facing side. This allows anyone in the household to identify items at a glance without rotating containers.
Material-Specific Cautions for Baking Ingredient Storage
Certain baking ingredients have storage requirements that affect shelf life and safety when not followed.
- Flour can attract pantry moths. Store in a sealed airtight container only. If you notice fine webbing or small larvae, discard the flour and inspect surrounding containers immediately.
- Brown sugar hardens when exposed to air. Store in an airtight container with a humidity-regulating disc or a small piece of food-safe terra cotta to maintain moisture.
- Nut flours (almond flour, coconut flour) have a higher fat content and can go rancid faster than all-purpose flour. Check expiration dates carefully and consider refrigerating opened bags if the shared cabinet runs warm.
Read More: 8 Storage Solutions Ideas for Small Bathrooms
Maintaining the System Over Time
A shared pantry requires periodic maintenance to stay functional. Without it, the organization system typically breaks down within a few weeks.
Set a Monthly Check Routine
- Remove all baking supplies from their zone once a month.
- Check expiration dates on all containers and original packaging.
- Wipe down the shelf surface before returning items.
- Restock containers that are running low and discard anything expired.
A monthly check typically takes 10–15 minutes and prevents the gradual accumulation of expired or duplicate items that makes shared pantries difficult to navigate.
Establish Ground Rules for the Household
In a shared pantry, the system only works if all users follow the same conventions.
- Agree on where items go after opening (pantry vs. refrigerator for items like yeast).
- Establish a policy for replacing used items before they run out.
- Keep a short list of current inventory on or near the cabinet so all users can see what is available without opening every container.
Clear expectations reduce friction in shared spaces and help maintain the organizational structure without repeated resets.
For more helpful tips, check out our storage section.