How to Organize Kitchen Cabinets for Plates and Bowls
This site contains affiliate links, view the disclosure for more information.
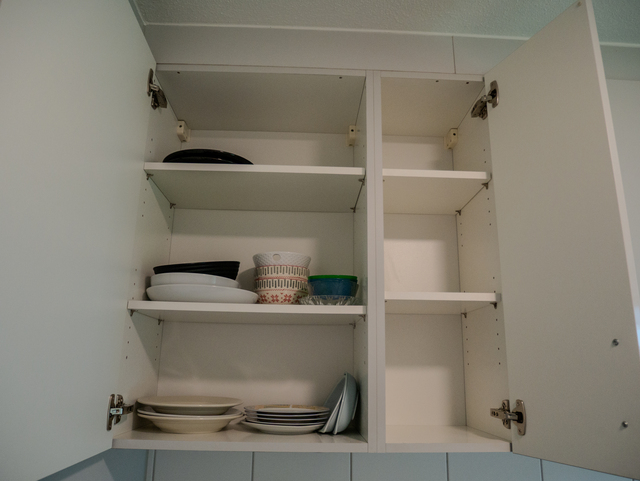
Organizing kitchen cabinets for plates and bowls reduces clutter and improves daily workflow. Most people already know the general idea but struggle with the specific layout choices, tools, and limits of their cabinet space. This guide focuses on practical steps you can follow immediately.
The goal is to organize kitchen cabinets in a way that keeps frequently used items accessible and protects dishes from chips and cracks. Cabinet depth, shelf height, and dish quantity all affect which method works best.
These steps apply to standard upper and lower cabinets. Some methods require simple tools or inexpensive organizers. Read the material-specific cautions section if you have fine china or oversized pieces.
Safety and Preparation Before You Start
Remove all items from the cabinet before reorganizing. This gives you a clear view of available space and prevents dishes from shifting during the process.
Do not stack more than 6–8 plates per column. Tall stacks can tip or crack the bottom plate under weight.
What to Check First
- Measure shelf height with a tape measure
- Note shelf depth (standard is 12 inches for upper cabinets)
- Check whether shelves are adjustable
- Identify any cracked or chipped dishes and set them aside
Wipe down the cabinet interior with a damp cloth before placing anything back. This prevents grit from scratching dish surfaces.
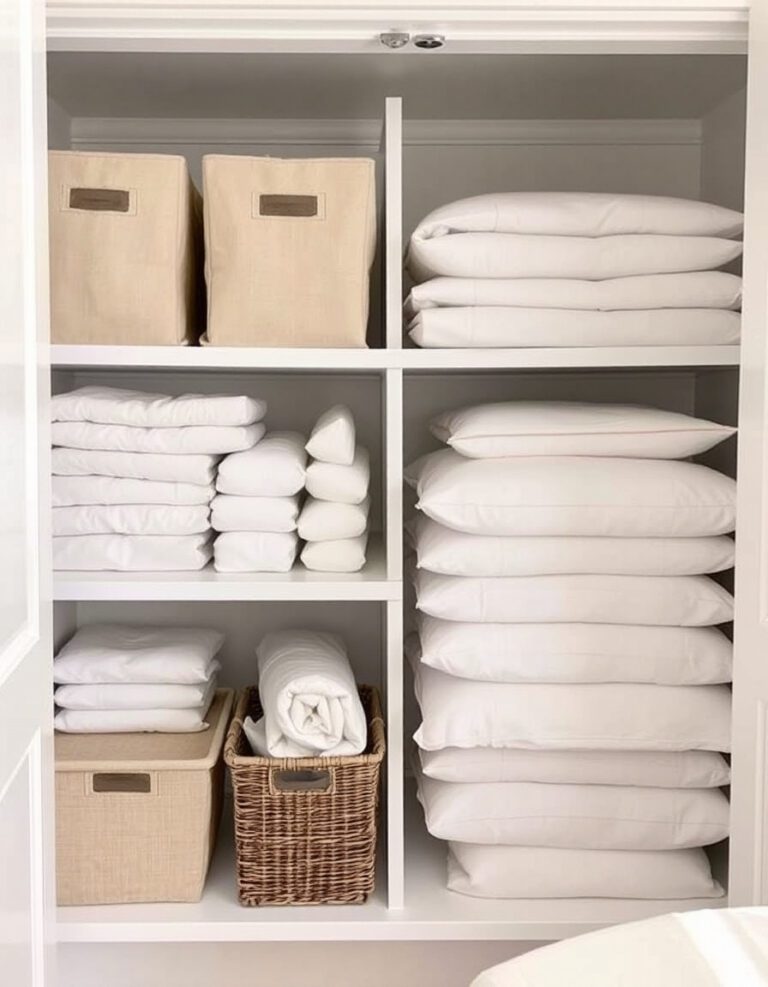
Quick Low-Risk Method: Zone-Based Layout
The simplest approach to organize kitchen cabinets is dividing the space into functional zones. Each zone holds one category of dish.
Step-by-Step Zone Setup
- Group all dinner plates together
- Group all bowls together
- Group salad or side plates separately
- Place everyday items at eye level or below
- Place rarely used items on the top shelf or back of the cabinet
Keep bowls and plates in separate zones rather than mixed stacks. Mixed stacks slow down retrieval and increase chip risk.
Placement by Frequency
- Daily-use plates: shelf between waist and shoulder height
- Weekly-use bowls: one shelf above or below daily plates
- Occasional pieces: top shelf or secondary cabinet
This layout requires no tools and can be completed in under 30 minutes.
Also Read: 18 Pantry Storage Ideas for Narrow Spaces That Feel Small
Tool-Specific Methods for Plates and Bowls
Several organizer tools can increase cabinet capacity and protect dishes. Each tool type has specific use cases.
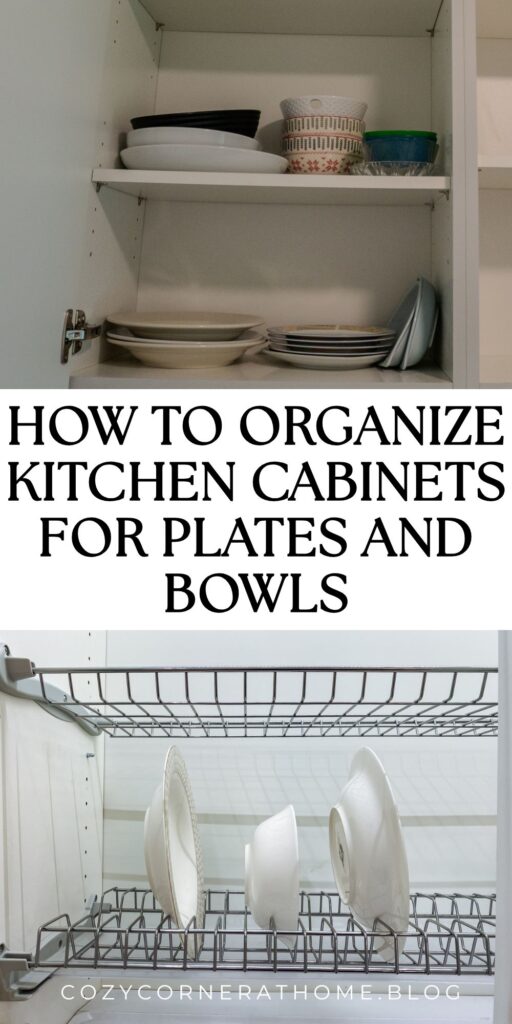
Plate Racks and Vertical Dividers
Vertical plate racks store plates upright rather than stacked. This reduces pressure on individual plates and makes it easier to pull one plate without disturbing the rest.
- Choose a rack sized to your plate diameter (typically 10–11 inches for dinner plates)
- Place the rack toward the back of the shelf
- Leave 1–2 inches of clearance on each side
Vertical storage works best for cabinets with at least 12 inches of depth. It is less effective in shallow upper cabinets.
Stackable Shelf Risers
Shelf risers create a second level within one cabinet shelf. This is useful when you have more horizontal space than vertical stack room.
- Place the riser flat on the shelf
- Put bowls or small plates on the riser’s upper level
- Place larger plates or bowls underneath
Confirm the riser’s weight rating before loading it. Most standard risers hold 10–20 lbs.
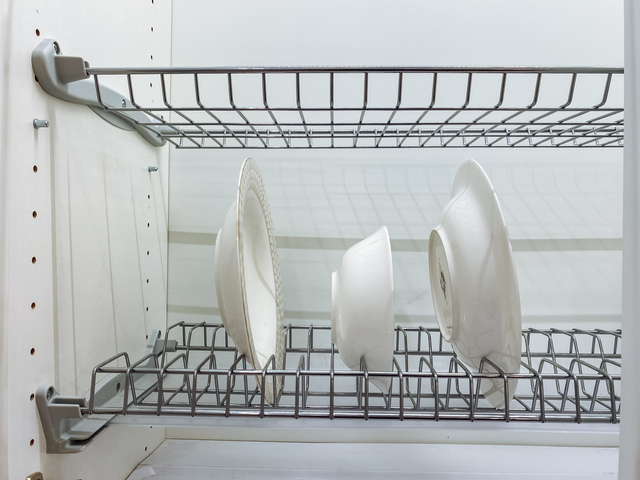
Cabinet Pull-Out Organizers
Pull-out organizers mount on drawer slides inside lower cabinets. They allow full access to items stored at the back without reaching over other dishes.
- Measure cabinet interior width before purchasing
- Most pull-outs fit 9–21 inch widths
- Installation typically requires a screwdriver and 20–30 minutes
Pull-out organizers work well for lower cabinets where deep shelves make rear access difficult.
Non-Slip Shelf Liners
Shelf liners prevent dishes from sliding when the cabinet is opened or closed. They also protect shelf surfaces from scratches.
- Cut the liner to fit the full shelf surface
- Use a rubberized, non-adhesive liner for easy removal and cleaning
- Replace liners annually or when they become discolored or brittle
Read More:
- 21 Ways to Organize a Small Kitchen on a Budget
- How to Organize Kitchen Drawers Without Dividers
- 15 Under-Sink Organization Tips for Pipes That Block Storage
Adjusting Shelf Height for Bowls and Plates
Most kitchen cabinets have adjustable shelves. Changing shelf height to match your dish sizes reduces wasted vertical space.
How to Adjust a Standard Shelf
- Remove all items from the shelf
- Locate the shelf pins or clips on the cabinet sides
- Lift the shelf straight up to remove it
- Reinsert the shelf pins at the new height
- Lower the shelf onto the pins and confirm it sits level
Allow 1–2 inches of clearance above the tallest item on that shelf. This prevents dishes from catching on the shelf above when removing them.
Do not over-load a shelf after repositioning. Confirm the pins are fully seated before placing dishes back.
Recommended Clearances by Dish Type
- Dinner plates (stacked 6 high): typically need 8–10 inches of vertical clearance
- Cereal or soup bowls (stacked 6 high): typically need 9–12 inches
- Large serving bowls: measure individually; clearance varies
Read More: 15 Pot Lid Storage Solutions for Standard Cabinets
Material-Specific Cautions
Different dish materials have different storage requirements. Ignoring these can lead to chips, cracks, or surface damage.
Fine China and Porcelain
Fine china is more fragile than everyday stoneware. It requires extra protection during storage.
- Place a felt or foam pad between each plate when stacking
- Do not store heavy items on top of or beside fine china stacks
- Limit stacks to 4–6 plates maximum
- Store in a separate cabinet zone away from frequently moved items
Stoneware and Ceramic
Stoneware can chip if pieces knock together. Keep stacks stable and avoid loose arrangements.
- Use rubber shelf liner under stoneware stacks
- Do not stack bowls inside each other unless the bases are smooth and flat
Glass and Tempered Glass
Glass bowls and plates can crack under uneven pressure. Avoid stacking tempered glass more than 4 pieces high.
- Store glass items where they will not be bumped by heavier pieces
- Do not place glass directly next to cast iron or heavy ceramic items on the same shelf
Organizing Bowls Specifically
Bowls present a different challenge than plates. Their curved shape means stacks can shift unless the bowls are the same size and shape.
Same-Size Stacking
- Stack only bowls of the same diameter together
- Place the largest bowl at the bottom
- Confirm each bowl is stable before adding the next
Mixing bowl sizes in a single stack increases tip risk.
Nested vs. Side-by-Side Storage
Nested stacking (one bowl inside another) saves space but requires similar bowl profiles. Side-by-side storage uses more shelf space but reduces chip risk for bowls with uneven bases or decorative rims.
Choose side-by-side storage for bowls with raised bases, lids, or irregular shapes.
Using a Pull-Out Drawer for Bowls
If you have a lower cabinet with a pull-out drawer or organizer, bowls often fit better there than on fixed shelves. The pull-out eliminates the need to reach over other items.
Read More: 8 Storage Solutions Ideas for Small Bathrooms
Final Arrangement, Limits, and Maintenance
Once all items are placed, do a quick stability check before closing the cabinet.
Final Setup Checklist
- Heaviest items are on lower shelves
- No stack exceeds recommended height
- Shelf pins are fully seated if shelves were adjusted
- Shelf liner is flat and not bunched
- Frequently used items are at easy-reach height
- Fragile items are padded or separated
Maintenance Cadence
Reorganize or reassess cabinet layout every 6–12 months. Dish collections change, and the original layout may no longer match actual use patterns.
Wipe shelf liners and cabinet interiors every 1–3 months to prevent dust and grease buildup under dishes.
When This Method Has Limits
These methods apply to standard residential cabinets. If your cabinets have fixed shelves, non-adjustable heights, or unusual dimensions, some steps will not apply. In those cases, external options like a dish drying rack, open shelving, or a dedicated hutch may work better for overflow storage.
This covers the main approaches to organizing kitchen cabinets for plates and bowls, from basic zoning to tool-based methods and material-specific handling.
For more helpful tips, check out our organization section.