21 Under Stairs Organization Ideas for Hidden Storage
This site contains affiliate links, view the disclosure for more information.
The space beneath a staircase often goes unused for a long time. It’s not always obvious what to do with it. The shape is irregular, the ceiling slopes, and the depth can vary quite a bit depending on the staircase.
That said, there are quite a few approaches people use to make this area more functional. What works depends largely on the specific dimensions of your space, your storage needs, and how much time or money you want to put into it.
These 21 ideas cover a range of options — from simple and low-cost to more involved setups.
What the Space Under Your Stairs Typically Looks Like
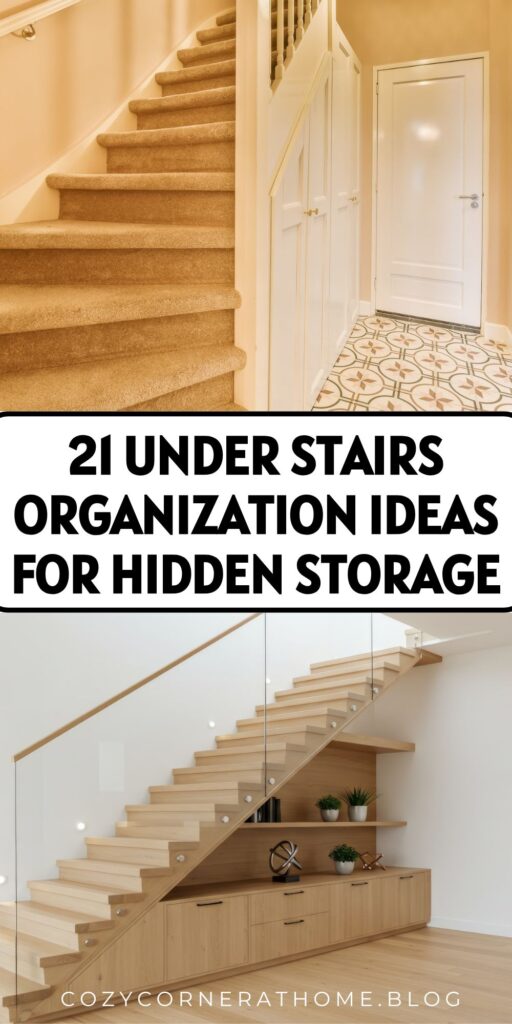
Not all under-stair areas are the same. Some are open on one or both sides. Others are fully enclosed behind drywall with a small door. A few are partially open with some framing visible.
The ceiling slopes downward as it follows the staircase angle. This means the tallest point — usually at the open end — might offer five or six feet of clearance, while the back corner may only be a foot or two high.
Knowing your dimensions before doing anything tends to save a lot of guesswork later.
Organizing Under the Stairs Without Touching the Walls
Some people prefer to avoid any drilling or installation. Freestanding options can still bring some order to the space.
1. Freestanding cube shelving. Standard cube units from most home stores sometimes fit into under-stair openings, depending on the entry height. Measure carefully before purchasing.
2. Stackable bins or crates. These can be rearranged as needed. They tend to work better toward the front where there’s more headroom.
3. A freestanding shoe rack. If the area sits near an entryway, a simple tiered shoe rack keeps footwear in one spot.
4. Rolling storage carts. Narrow carts on wheels can slide in and out of the space. They’re a practical option when access needs to stay easy.
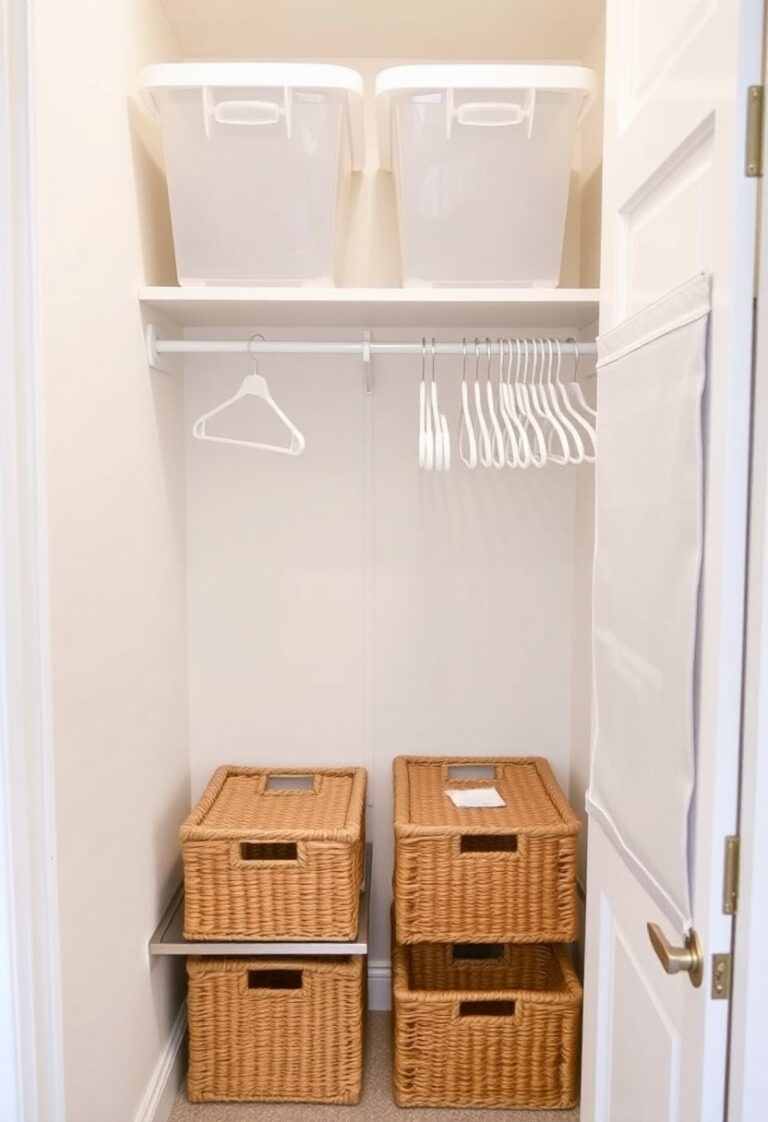
5. Wicker or fabric baskets. Baskets don’t require installation and can be swapped out or repositioned without much effort.
The main limitation with freestanding options is that the irregular shape of the space sometimes leaves gaps that feel inefficient. That’s worth accepting if you’re not ready for a bigger project.
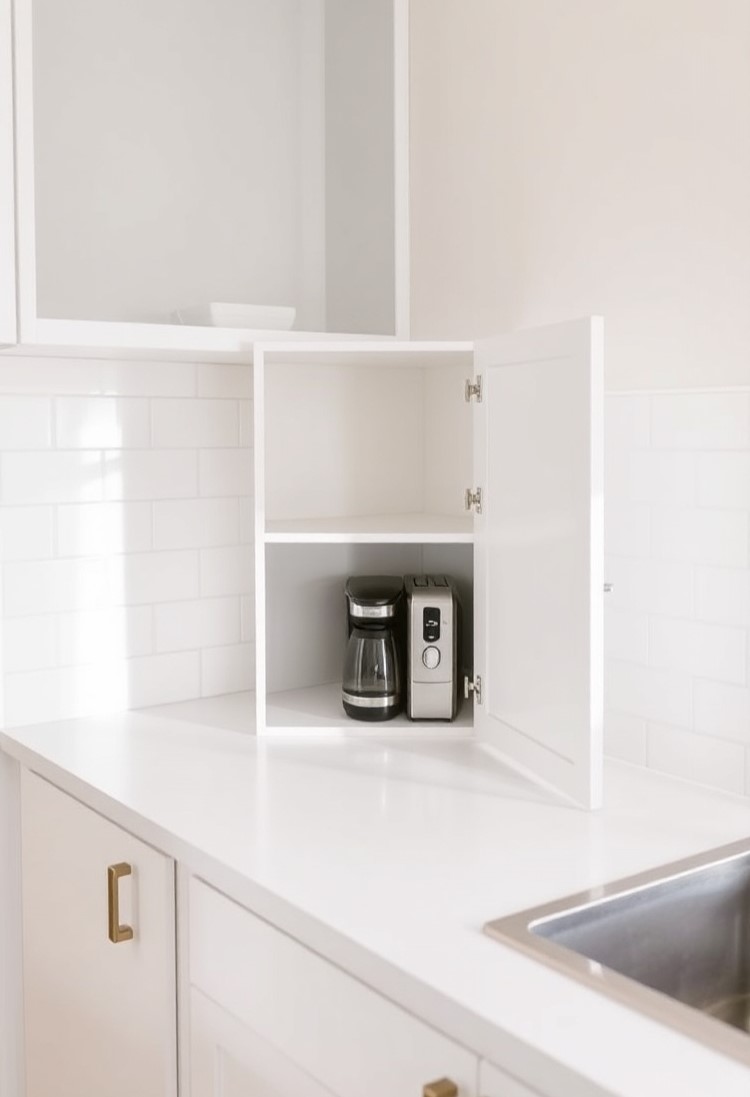
Read More: 17 Kitchen Counter Organization Ideas for Small Appliances
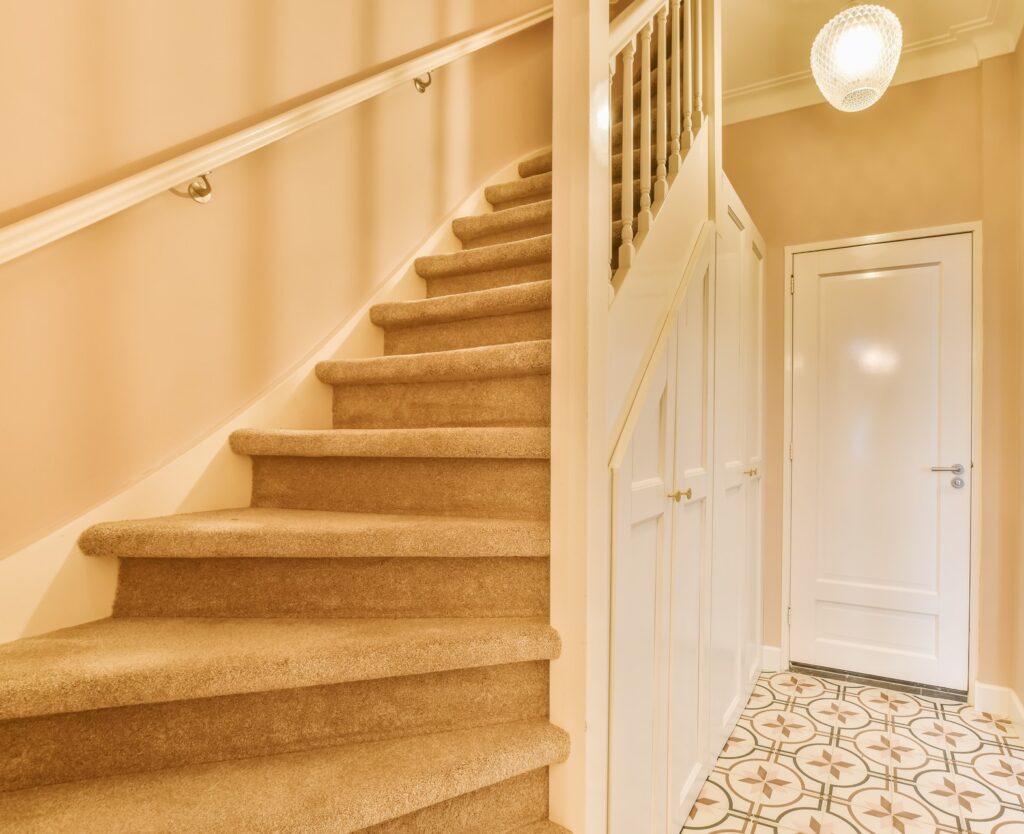
Under Stair Closet Organization When the Space Is Already Enclosed
If your under-stair area has a door and functions like a small closet, the challenge is usually about making the inside manageable rather than building anything new.
6. Over-the-door organizers. These hang from the inside of the door and add small pockets for items that tend to get lost — batteries, tape, small tools.
7. A wall-mounted broom and mop holder. These are inexpensive and attach to the wall with a few screws. They free up floor space by holding long-handled items vertically.
8. Low, flat storage bins for the back corner. Because the ceiling slopes toward the back, tall containers often don’t fit there. Flat bins that slide along the floor tend to be more practical in that area.
9. A simple shelf at mid-height. One shelf can meaningfully increase what the space holds. A single board with basic brackets is a relatively straightforward addition.
10. Labeled storage bins grouped by category. Grouping similar items together — cleaning supplies, seasonal items, tools — makes it easier to find things without emptying the whole space.
Enclosed under-stair closets tend to accumulate things over time simply because the door hides everything. Periodic editing of what’s stored there can help keep it from becoming difficult to navigate.
Pull-Out Drawer Systems for Organizing Under the Stairs
Pull-out drawers are a popular choice for under-stair spaces because they allow access to deep areas that would otherwise be hard to reach.
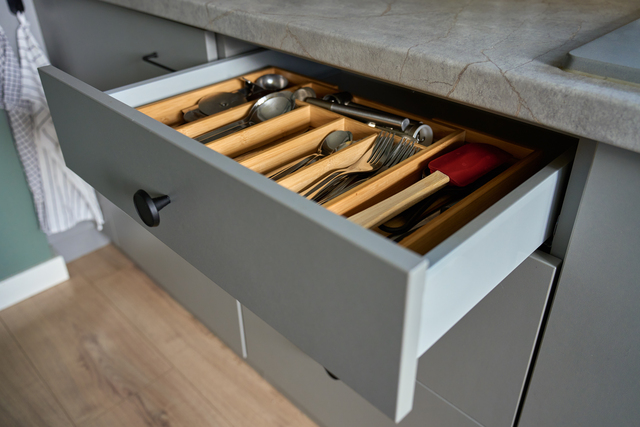
11. Custom-built pull-out drawers. These are built to match the exact slope and depth of the staircase. They typically require a carpenter or someone comfortable with cabinetry work.
12. Modular drawer units adapted for the space. Some ready-to-assemble furniture can be modified to work here. Results vary depending on how closely the dimensions align.
13. Rolling drawer carts as a simpler alternative. These don’t require installation and offer similar pull-out functionality. They’re easier to remove or rearrange later.
Pull-out systems tend to make more sense for items accessed regularly. For things stored long-term and rarely touched, a simpler solution might be just as practical.
Also Read: 20 Under Cabinet Organization Ideas for Kitchen Storage
Shelving Ideas for the Open Side of an Under-Stair Space
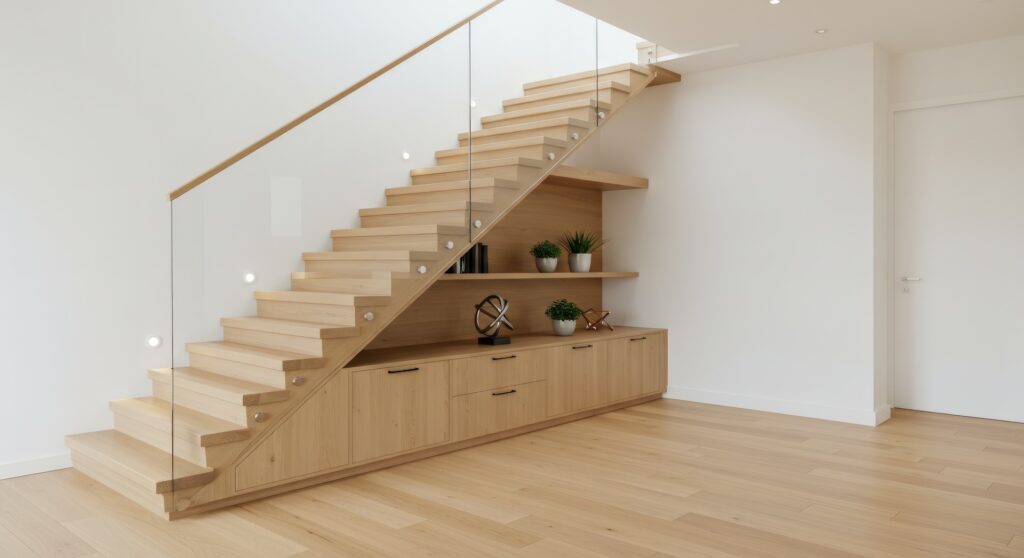
When the under-stair area is open rather than enclosed, wall-mounted shelving along the exposed side is one of the more common approaches.
14. Floating shelves at varying heights. Because the ceiling slopes, shelves often need to be positioned at different heights to fit along the wall. This creates an angled, staggered look.
15. A built-in shelving unit that follows the slope. Some people commission or build a shelving system that’s designed around the angle of the staircase. This is more involved but tends to use the space more fully.
16. Open shelving for display or books. The under-stair wall is sometimes used for bookshelves. The sloped ceiling gives the setup a somewhat distinctive look that some people find appealing.
Open shelving does mean whatever is stored there stays visible. That can work well for items that don’t need to be hidden, less so for things that tend to look cluttered.
Using the Space Under Stairs as a Small Home Office Area
Some households convert the under-stair nook into a compact workspace. Whether this is practical depends mostly on the dimensions available.
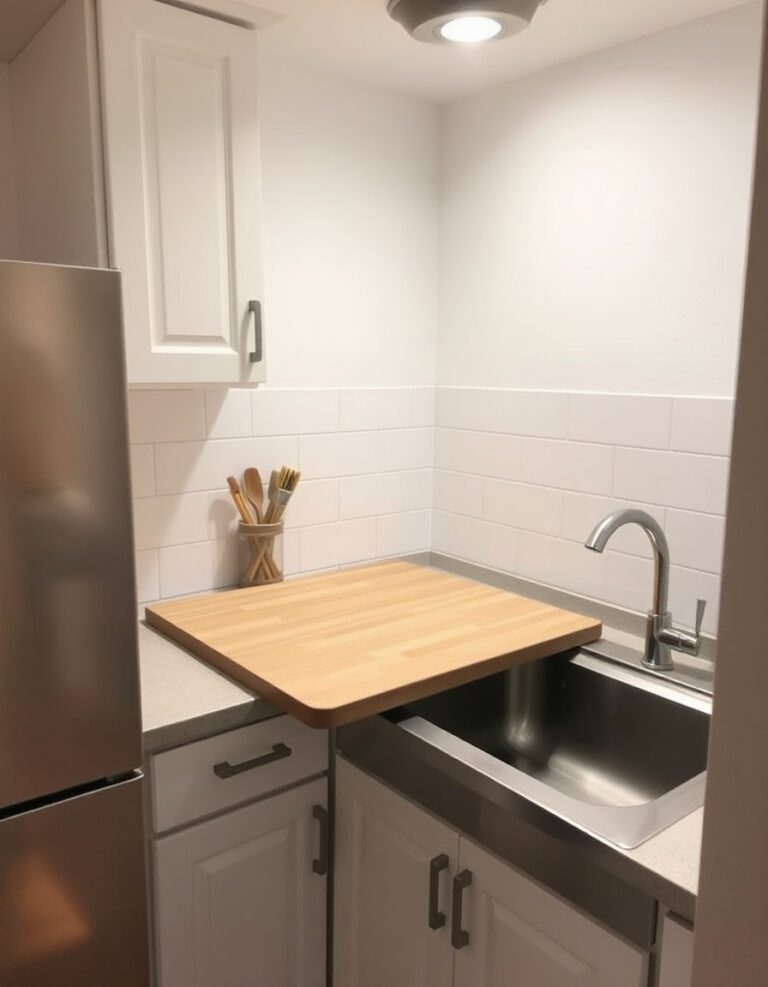
17. A wall-mounted fold-down desk. These fold flat against the wall when not in use. They require a solid mounting surface and enough floor space to stand or sit in front of.
18. A small freestanding desk fitted into the nook. If headroom at the entry point is sufficient — typically around 60 inches or more — a standard desk may fit. Lighting will likely need to be added separately.
19. Shelving above the desk for supplies or books. The sloped ceiling limits how high shelving can go, but a shelf or two above the desk surface is usually achievable.
This kind of conversion involves some planning around power access, lighting, and ergonomics. It may not suit every household’s layout or workflow.
Read More: 19 Open Shelf Organization Ideas for a Balanced Look
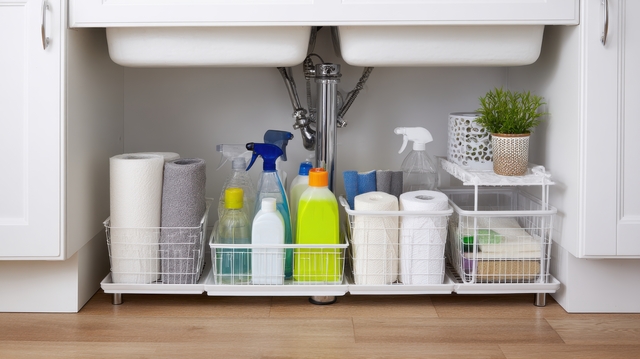
Cleaning Supplies and Household Tools Stored Under the Stairs
The under-stair area can be a reasonable spot for cleaning supplies and everyday household tools, particularly when it sits near a central part of the home.
20. A wall-mounted holder for brooms, mops, and vacuums. These mounts keep long-handled items off the floor and organized vertically. They attach to the wall and free up floor space for other things.
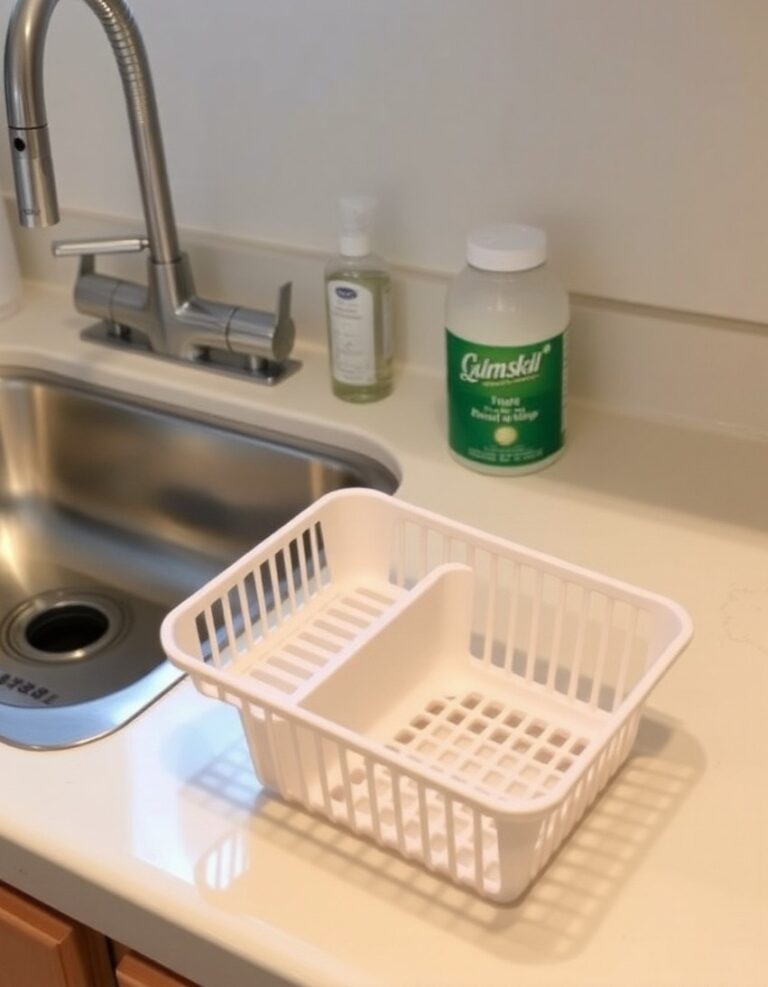
21. A small shelving unit for sprays, cloths, and cleaning products. A single shelf or a narrow freestanding unit can hold most everyday cleaning supplies in one spot. Grouping them together tends to make restocking and locating items a bit more straightforward.
One thing worth noting is ventilation. Some cleaning products have fumes that can linger in enclosed spaces. If your under-stair area is fully enclosed, keeping the door slightly ajar or checking that there’s some air circulation is something to consider before storing chemicals there long-term.
A Few Things to Think About Before Starting
It’s worth spending some time in the space before committing to any particular approach. Note the dimensions, check where the ceiling height changes, and consider how the space connects to the rest of your home — what enters and exits nearby, and what’s realistically close enough to put away there.
Storage systems tend to be more useful when they’re close to where items are actually used. An under-stair space near the front door makes sense for shoes and bags. One near a family room might suit toys or media. One tucked into a back hallway may be more suited to seasonal or infrequently used items.
Most of these ideas can be approached gradually. Starting with one or two simple changes gives a clearer picture of whether a larger investment makes sense later.
For more helpful tips, check out our organization section.