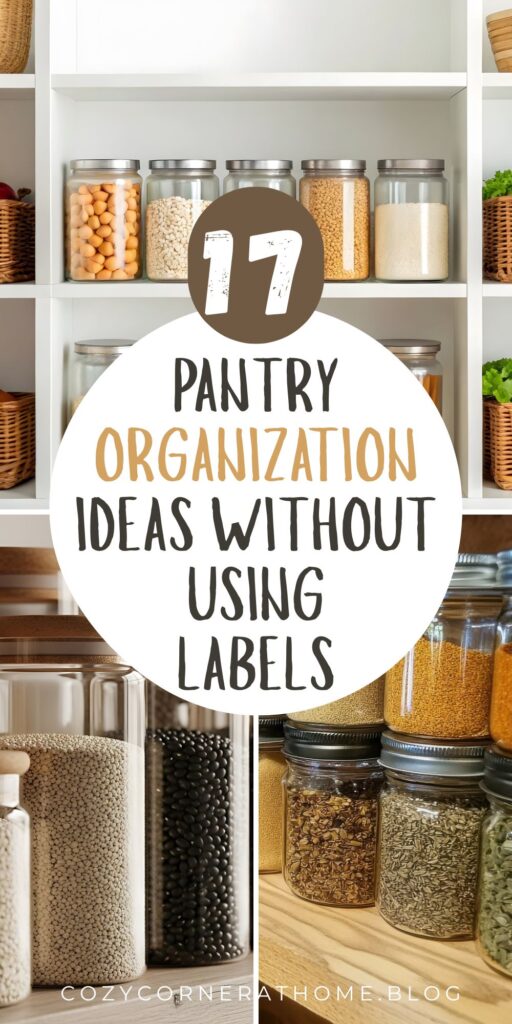
17 Ways to Organize Pantry Without Labels
This site contains affiliate links, view the disclosure for more information.
Keeping a pantry organized without relying on labels is possible using visual systems, container choices, and placement strategies. Many households prefer to organize pantry without labels to save time, reduce visual clutter, or accommodate changing storage needs. Clear containers, color coding, and logical grouping can replace written tags while maintaining order.
Different methods work for different pantry sizes, shelf configurations, and household routines. Some strategies rely on transparent storage, while others use shape, size, or location as organizing tools. No single approach fits every space.
This guide covers 17 methods to organize pantry without labels. It includes container selection, placement techniques, visual sorting systems, and maintenance strategies. Each method can be used alone or combined with others.
Use Clear Containers for Instant Identification
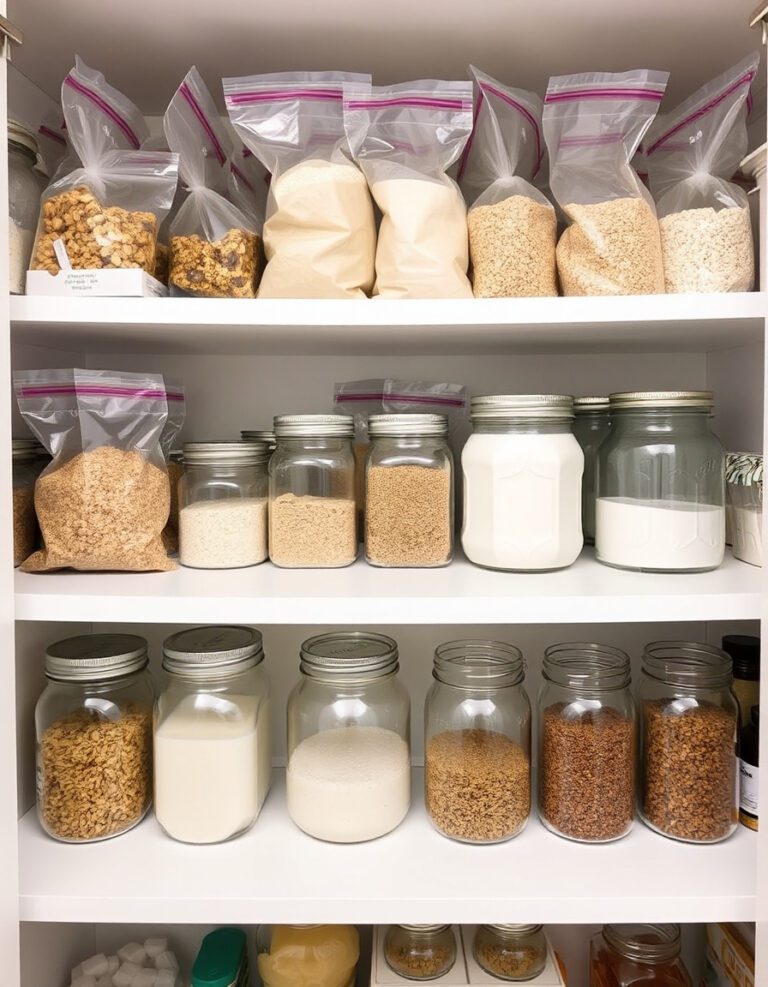
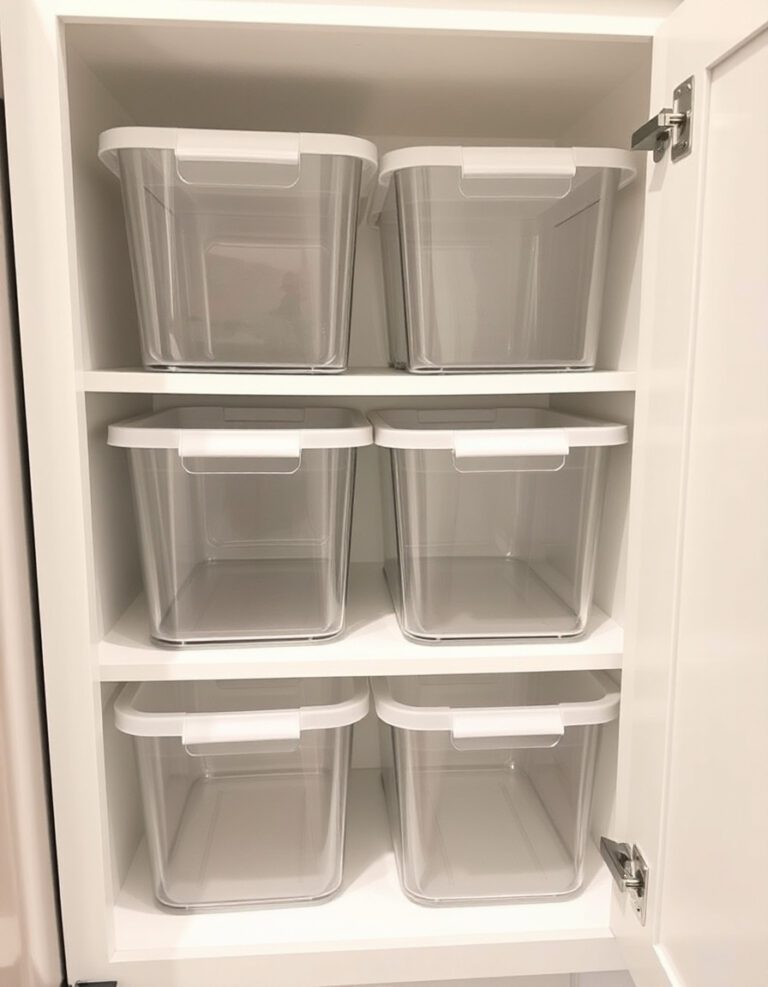
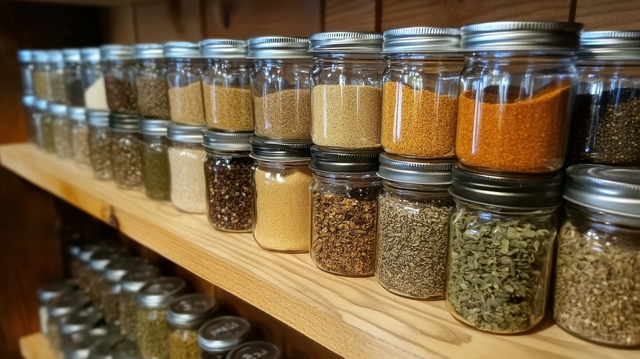
Clear glass or plastic containers let you see contents without reading labels. Transfer dry goods like pasta, rice, flour, and cereal into transparent bins or jars. This works best for items you buy regularly and recognize by sight.
Choose uniform container shapes to maximize shelf space. Square or rectangular bins fit tighter than round jars. Stack containers of the same size for vertical efficiency.
Group similar items in matching container sets. For example, place all baking ingredients in medium-sized square bins. Store snacks in tall, narrow jars. Visual consistency helps you locate categories quickly.
Arrange Items by Frequency of Use
Place everyday items at eye level and within easy reach. Store backup supplies or occasional-use ingredients on higher or lower shelves. This creates a natural hierarchy based on your cooking habits.
Keep breakfast items together in one zone. Group dinner staples in another. Snacks and lunch supplies can occupy a third area. Frequency-based placement reduces search time.
Move items forward after each use. This simple habit keeps the most-used products visible and accessible.
Group by Food Category
Sort pantry contents into broad categories: grains, canned goods, baking supplies, snacks, spices, oils, and condiments. Dedicate one shelf or section to each category.
Within each category, arrange items by type. For example, group all pasta shapes together, then place rice varieties in a separate cluster. This visual organization replaces the need for written labels.
Use shelf dividers or small bins to maintain category boundaries. This prevents items from drifting into other sections over time.
Color-Code with Container Lids or Bins
Assign a specific lid color or bin color to each food category. Use blue lids for grains, green for snacks, red for baking supplies, and yellow for breakfast items. This creates a visual shorthand you can recognize from across the room.
Purchase container sets with interchangeable colored lids. Alternatively, use colored bins or baskets for bulk storage. The color system works independently of labels.
Keep a mental or written reference of your color assignments. Consistency is required for this method to remain effective.
Store Items in Original Packaging When Recognizable
Some products have distinctive packaging that makes them easy to identify. Cereal boxes, cracker sleeves, and chip bags often display large graphics and brand colors. Leave these items in their original containers if space allows.
Face product fronts outward on shelves. This maintains visual recognition without additional labeling. Remove outer cardboard boxes from multi-pack items to save space while keeping inner packaging visible.
This method works best for frequently rotated items with short shelf lives.
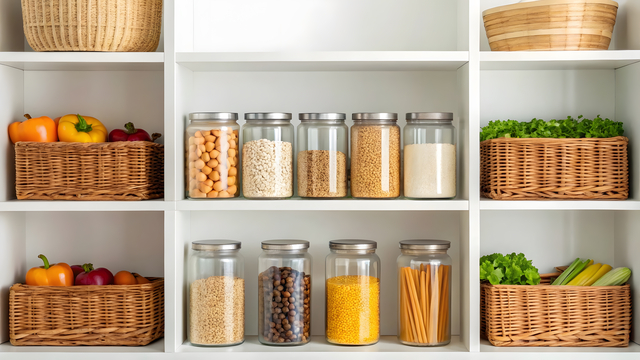
Use Basket or Bin Zones for Subcategories
Place wire baskets or open bins on pantry shelves to create zones. One basket might hold all canned vegetables. Another could contain snack bars and packaged crackers. A third might store baking chocolate and sprinkles.
Choose baskets with handles for easy removal. Pull out the entire basket when you need something, then return it to the shelf. This reduces clutter and maintains groupings.
Do not overfill baskets. Overloaded bins become difficult to search and items get buried.
Arrange by Size and Shape
Store tall items like cereal boxes and pasta packages on high shelves. Place short, flat items like spice jars and canned tuna on lower or shallower shelves. Grouping by physical dimensions creates natural visual order.
Stack cans of the same size together. Nest similar-sized containers. This method maximizes shelf space and creates recognizable patterns.
Avoid mixing very small and very large items in the same zone. Size contrast makes it harder to scan contents quickly.
Position Items with Front Labels Facing Out
Many packaged goods have large product images or text on the front. Turn all items so these faces point outward. This creates a visual reference system based on existing packaging design.
Rotate stock during restocking. Place newer items behind older ones with labels still visible. This maintains order while supporting first-in, first-out usage.
Check alignment weekly. Items shift during normal use and may need straightening.
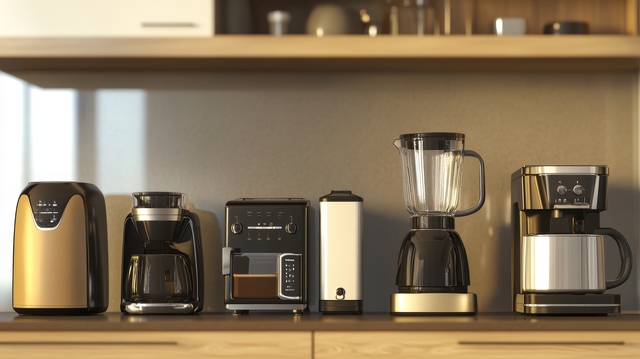
Also Read: 21 Ways to Organize Kitchen Small Appliances in Cabinets
Create Dedicated Stations for Specific Meals
Designate one shelf or section as the breakfast station. Store oatmeal, cereal, coffee, and pancake mix together. Build a separate lunch-packing station with crackers, nut butter, and shelf-stable snacks.
Keep a dinner prep zone with pasta, rice, canned tomatoes, and cooking oils. Grouping by meal type reduces decision-making and speeds up cooking routines.
Adjust station contents as your meal patterns change. This system adapts to seasonal eating habits or dietary shifts.
Use Turning Trays for Small or Similar Items
Place a rotating turntable on deep shelves to store oils, vinegars, sauces, or spice jars. Spin the turning trays to bring items into view without moving other containers.
Group similar bottle shapes together on each turntable. For example, keep all vinegars on one turning trays and all cooking oils on another. Shape recognition helps you locate the right item.
Avoid placing heavy glass jars on plastic turning trays. Weight limits vary by model. Check manufacturer specifications.
Stack Same-Item Multiples Together
When you buy duplicates of the same product, stack them vertically or line them up horizontally. A stack of identical canned beans or a row of matching pasta boxes creates an obvious visual unit.
This method works well for bulk purchases or frequently used staples. The repetition signals quantity at a glance.
Separate stacks from other items using small dividers or space gaps. Clear visual boundaries prevent confusion.
Read More: 19 Ways to Organize Kitchen Under the Sink for Easy Access
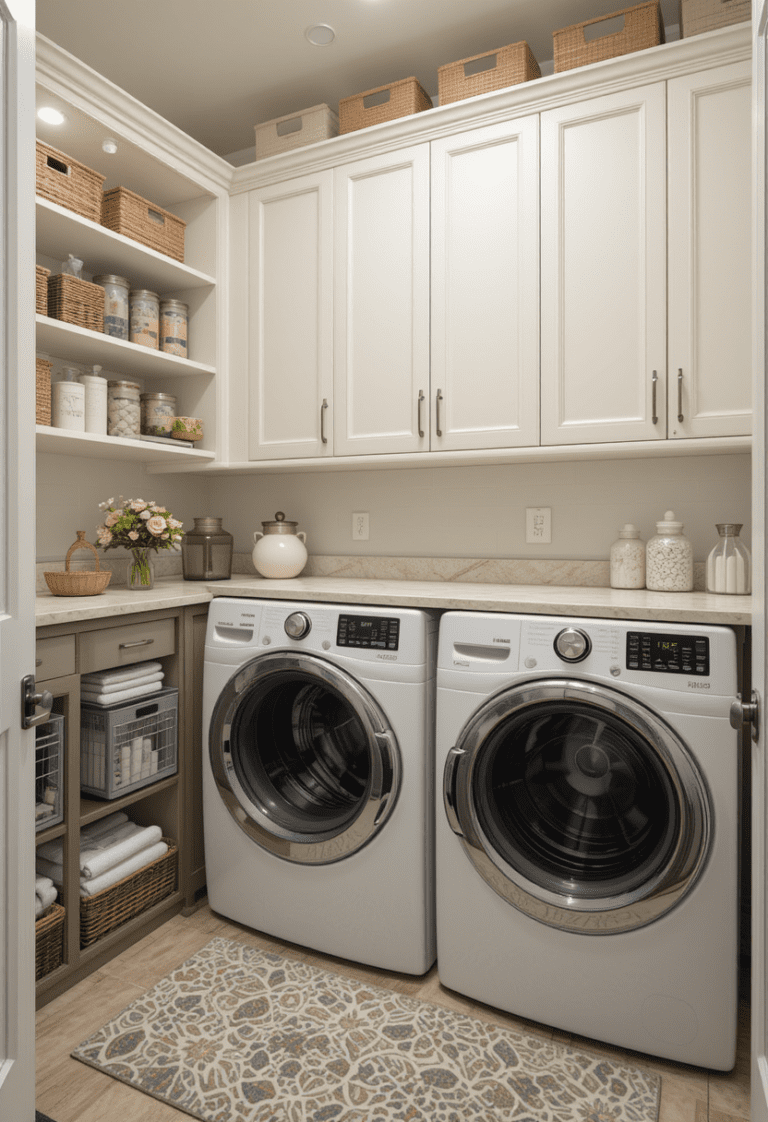
Use Open Shelving for High-Visibility Storage
Remove pantry doors or use open shelving to keep all contents visible. Constant visibility reduces the chance of forgotten items and eliminates the need for reminder labels.
Arrange items neatly with fronts facing out. Open shelving rewards organized placement and punishes clutter. This built-in accountability helps maintain order.
Dust open shelves more frequently than enclosed pantries. Exposure to air increases dust accumulation.
Assign Fixed Shelf Locations for Repeat Purchases
Always place pasta on the second shelf. Store canned goods on the bottom shelf. Keep baking supplies on the top shelf. Fixed locations create muscle memory and reduce search time.
Train household members on the system. Consistent placement by everyone maintains organization without labels.
Reevaluate shelf assignments if your buying habits change significantly.
Separate Opened from Unopened Items
Use one section for opened packages and containers. Place unopened backups in a separate area. This visual distinction helps you track inventory and avoid duplicate purchases.
Move items from the unopened section to the opened section as you start using them. The shift in location signals consumption progress.
Check the opened section first when cooking. This ensures you use open items before they expire.
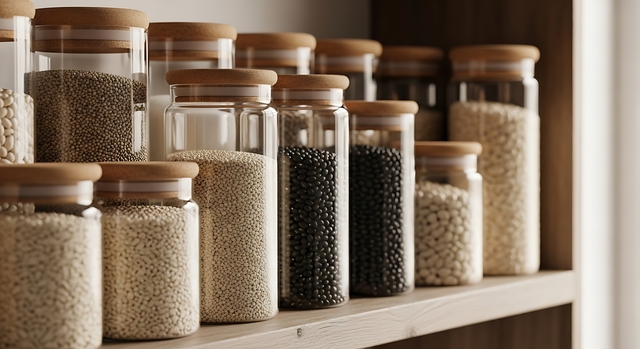
Use Graduated Container Sizes for Quantity Signals
Store large quantities in big containers. Transfer smaller amounts to medium or small jars. Container size becomes a visual indicator of how much remains.
For example, keep five pounds of flour in a large canister and one pound of specialty flour in a small jar. The size difference communicates relative quantity without measurement labels.
Refill smaller containers from larger ones as needed. The graduated system shows when to add items to your shopping list.
Read More:
- How to Organize Kitchen Wooden Spoons and Spatulas
- How to Organize Kitchen Cabinets in Small Spaces
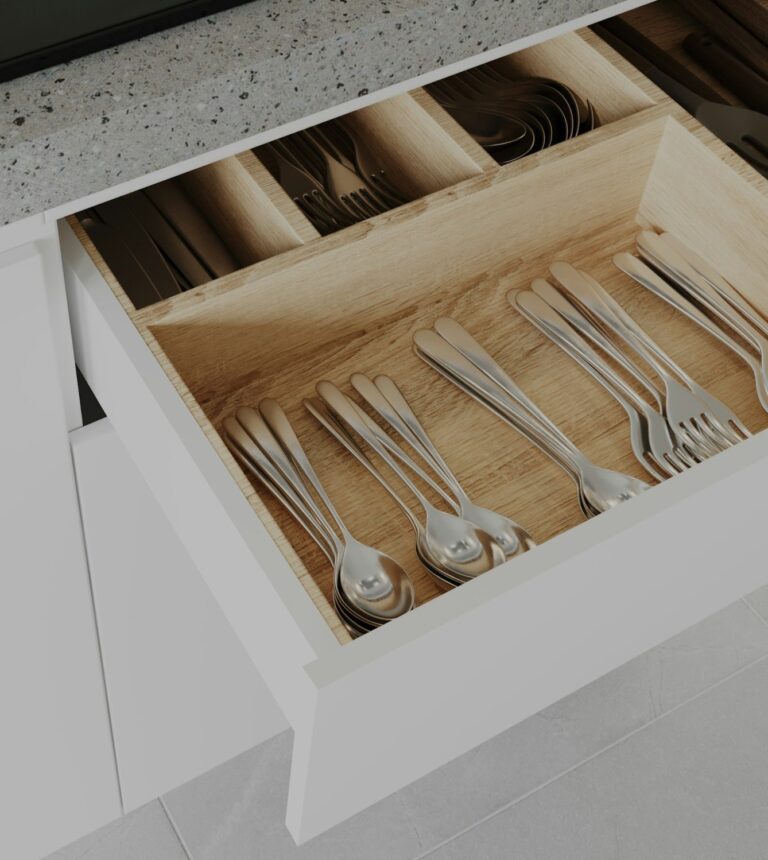
- How to Organize Kitchen Utensils in a Messy Drawer
Organize Vertically with Tiered Shelf Risers
Add stepped shelf risers to create multiple levels on a single shelf. This prevents items from hiding behind taller containers. Each tier remains visible without labels.
Place shorter items on higher tiers. Store taller items on lower levels or directly on the shelf. This maintains sightlines across the entire shelf.
Choose risers with non-slip surfaces to prevent containers from sliding. Wire or bamboo risers allow air circulation around stored items.
Rely on Texture and Material Differences
Glass jars feel different from plastic bins. Metal canisters have distinct weight and temperature compared to cardboard boxes. Sensory differences help you identify contents through touch, especially in deep or poorly lit pantries.
This method works well for frequently accessed items in consistent locations. Your hands learn to recognize containers without visual confirmation.
Combine texture recognition with other methods for redundancy. Relying solely on touch is less reliable than multi-sensory systems.
Maintain Consistent Restocking Patterns
Always return items to the same spot after use. Place new purchases in designated zones immediately. Consistency creates predictable order that functions without written reminders.
Conduct a quick visual scan weekly. Move misplaced items back to their assigned areas. Small corrections prevent gradual disorganization.
Adjust your system if you notice repeated placement errors. The organization should match natural household behavior, not fight against it.
For more helpful tips, check out our organization section.