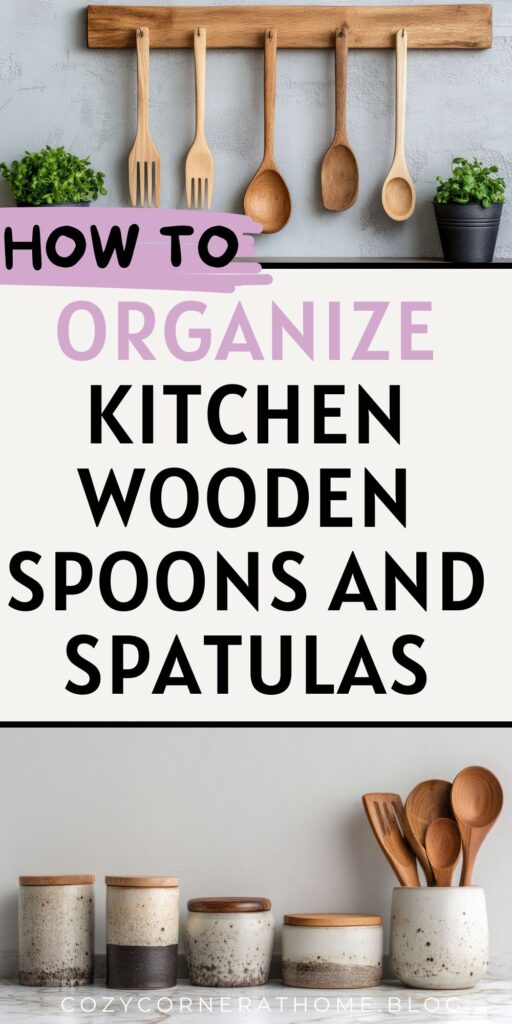
How to Organize Kitchen Wooden Spoons and Spatulas
This site contains affiliate links, view the disclosure for more information.
Wooden spoons and spatulas pile up in drawers and countertop containers. They tangle together and make finding the right utensil difficult. Learning how to organize kitchen wooden spoons improves access and keeps your workspace functional.
Different kitchens require different storage solutions. Counter space, drawer depth, and the number of utensils you own all affect which method works best. Some methods prioritize visibility while others maximize space.
This guide covers drawer dividers, countertop crock organization, wall-mounted systems, and hybrid storage options. You’ll learn how to sort utensils by size and function. Each method includes setup steps and material requirements.
Sort Wooden Utensils Before Organizing
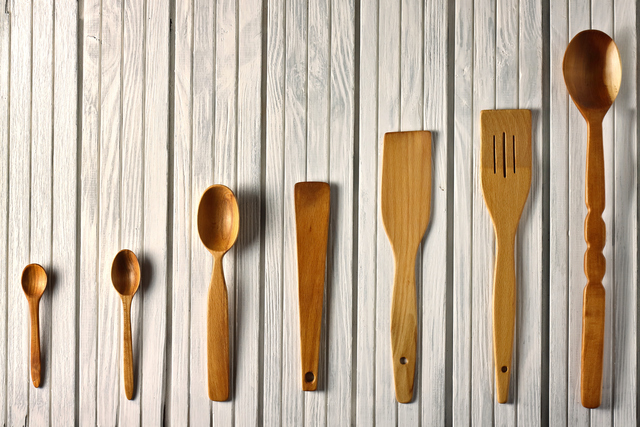
Group by Size and Function
Remove all wooden spoons and spatulas from current storage. Place them on a clean counter or table. Separate spoons from spatulas into two groups.
Within each group, arrange items by size:
- Large serving spoons (12+ inches)
- Standard cooking spoons (10-12 inches)
- Small stirring spoons (under 10 inches)
- Wide spatulas
- Angled spatulas
- Slotted spoons
Remove Damaged or Duplicate Items
Inspect each utensil for cracks, splinters, or staining. Discard any item with deep cracks that could harbor bacteria. Set aside extras if you have more than three of the same size and type.
Count your remaining utensils. This number determines which storage method will work best.
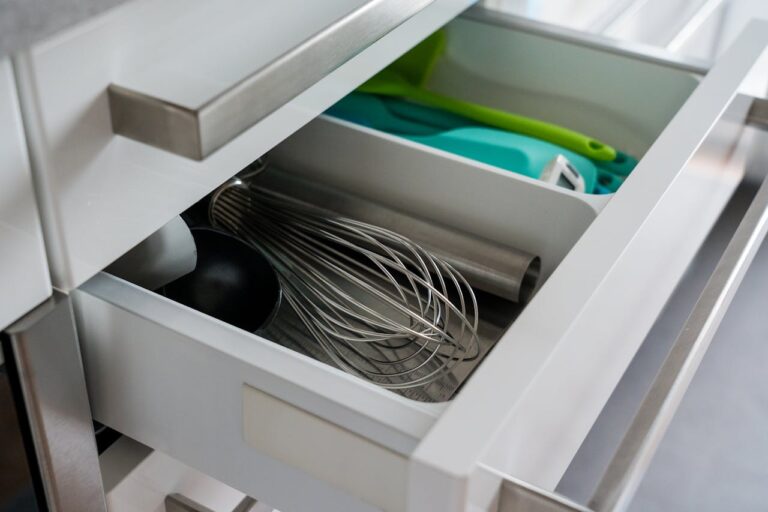
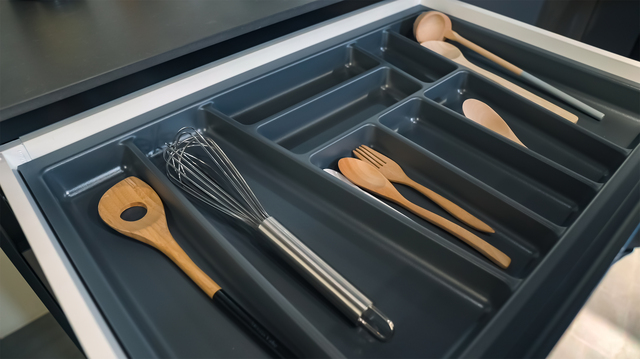
Organize Kitchen Wooden Spoons in Drawer Dividers
Materials Needed
You need a utensil drawer at least 12 inches wide. Purchase adjustable plastic or bamboo drawer dividers. Measure your drawer depth before buying dividers.
Most wooden spoons fit in compartments 2-3 inches wide. Spatulas need compartments 3-4 inches wide.
Installation Steps
- Empty the target drawer completely
- Wipe the drawer interior with a damp cloth
- Let the drawer dry for 10 minutes
- Install dividers according to package instructions
- Create 3-5 compartments based on your utensil count
Placement Strategy
Place the tallest utensils in the back compartments. Position frequently used spoons in front sections. Store spatulas in the widest compartment.
Orient all handles toward the drawer front. This prevents utensils from catching when you open the drawer. Leave one compartment empty if space allows—this provides room for new additions.
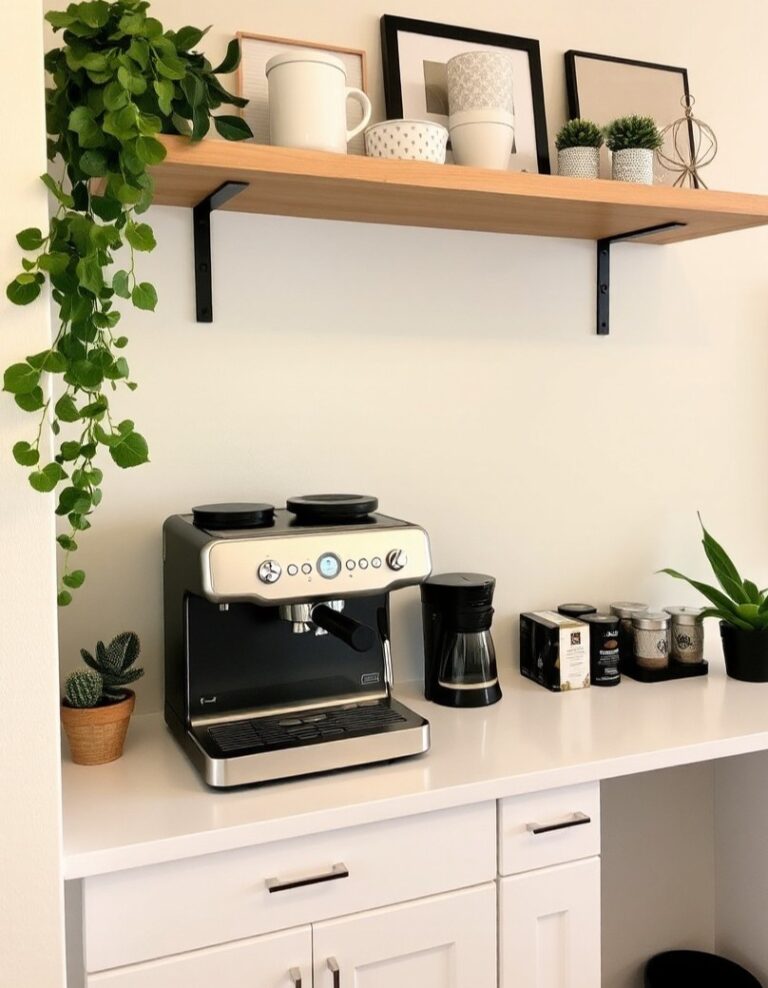
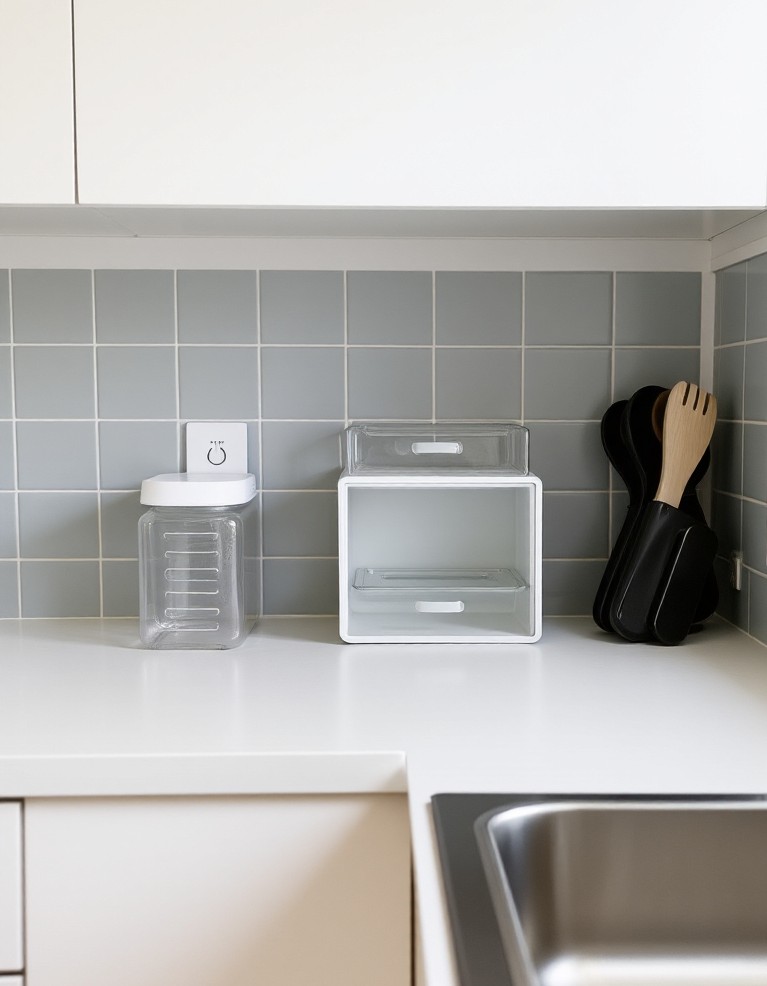
Use Countertop Crocks for Vertical Storage
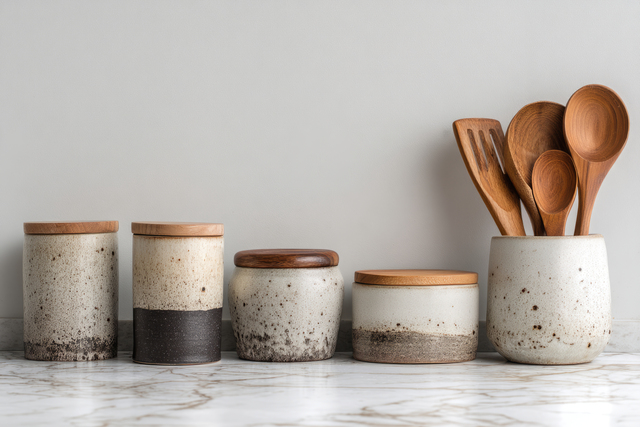
Choosing the Right Container
Select a crock or container at least 6 inches tall. The opening should measure 4-6 inches in diameter. Ceramic and stoneware crocks work better than lightweight plastic because they won’t tip.
Avoid containers shorter than your shortest wooden spoon. Handles will stick out and create visual clutter.
Filling Method
Add clean rice, dried beans, or glass beads to the crock bottom. Fill to a depth of 2-3 inches. This material stabilizes utensils and prevents tipping.
Insert wooden spoons with bowl-side facing outward. This orientation makes it easier to grab the handle. Place spatulas around the perimeter with flat sides facing out.
Capacity Guidelines
A 6-inch diameter crock holds 8-12 wooden utensils comfortably. Overcrowding makes it difficult to remove individual items. Use multiple crocks if you have more than 12 utensils.
Position crocks near the stove for easy access while cooking. Keep them away from water sources to prevent moisture damage to the wood.
Also Read: How to Organize Kitchen Utensils in a Messy Drawer
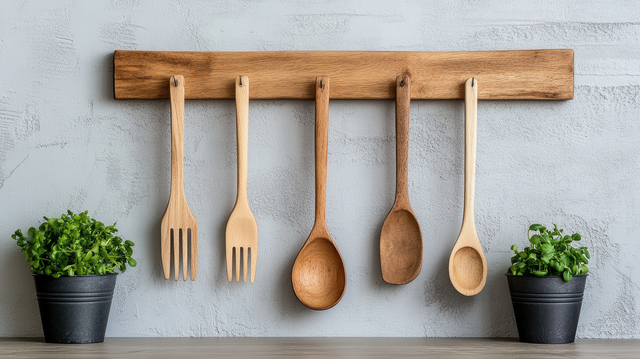
Install Wall-Mounted Rail Systems
Required Tools and Hardware
Purchase a wall mounted rail with S-hooks. You need:
- Mounting rail (18-24 inches recommended)
- Drill and appropriate drill bits
- Wall anchors if not mounting to studs
- Level
- Pencil for marking
Measure the space between your countertop and upper cabinets. The rail should mount at least 18 inches above the counter.
Mounting Process
- Locate wall studs with a stud finder
- Mark mounting points with a pencil
- Hold the rail against the wall and check level
- Drill pilot holes at marked points
- Install wall anchors if needed
- Attach rail with provided screws
- Hang S-hooks along the rail
Hanging Configuration
Hang utensils by their handle holes if present. For solid-handle utensils, slide the handle through the S-hook curve. Space hooks 2-3 inches apart to prevent crowding.
Place heavier spatulas near the ends of the rail. Position lighter spoons in the center. This balances the weight distribution.
Create Drawer Insert Systems for Large Collections
Custom Compartment Sizing
Measure your drawer interior dimensions exactly. Note the depth—most utensil drawers are 3-4 inches deep. Purchase foam or wood drawer inserts that can be cut to size.
Create compartments in these dimensions:
- 2 inches wide for standard spoons
- 3 inches wide for spatulas
- 1.5 inches wide for small stirring spoons
Assembly Steps
Cut foam inserts with a utility knife or scissors. Wood inserts require a handsaw. Create vertical dividers first, then add horizontal sections if the drawer is longer than 18 inches.
Press foam inserts firmly into place. Wood inserts may need adhesive strips on the bottom to prevent shifting. Test the fit by opening and closing the drawer several times.
Loading Pattern
Place the longest utensils in the deepest section of the drawer. Arrange utensils so no handles overlap. This prevents friction when removing items.
Leave 0.5 inches of space at the top of each compartment. This clearance allows you to grasp utensil handles easily.
Organize Kitchen Wooden Spoons in Over-the-Door Racks
Rack Selection Criteria
Choose over-the-door organizers designed for kitchen use. Look for pockets or hooks specifically sized for utensils. The rack should be no wider than your cabinet door.
Measure your cabinet door thickness. Most racks fit doors 1-1.5 inches thick. Check the product specifications before purchasing.
Installation Requirements
Hang the rack on the inside of a cabinet door near your prep area. Position it so the door can close completely. The rack should not interfere with items stored inside the cabinet.
No tools are required for over-the-door installation. The rack hangs via hooks that slide over the door top.
Utensil Distribution
Place the most-used utensils in the top pockets or hooks. Store seasonal or specialty items in lower sections. Distribute weight evenly across the rack to prevent sagging.
Check that the door closes smoothly after loading utensils. Remove items if the door requires force to close.
Read More: 9 Kitchen Utensil Storage Solutions When Your Holder Overflows
Separate by Material Type
Bamboo Utensil Considerations
Bamboo utensils are lighter and more prone to warping than hardwood. Store bamboo items in low-humidity areas. Avoid placing them near the dishwasher or sink.
Group bamboo spoons separately from other woods. This makes it easier to apply bamboo-specific conditioning oil when needed.
Hardwood Storage Needs
Maple, cherry, and walnut utensils tolerate more moisture than bamboo. These can be stored in crocks near the sink. They’re also suitable for drawer storage without additional moisture protection.
Keep stained hardwood utensils separate from unstained ones. Oil transfer between utensils can occur in shared compartments.
Heat-Treated Wood Placement
Dark, heat-treated utensils resist moisture better than untreated wood. These can be stored in any of the methods described above. They work well in humid kitchen environments.
Store these utensils in the most accessible locations since they’re often used for high-heat cooking.
Address Handle Hole Organization
Hook-Based Systems
Utensils with handle holes work best on wall-mounted systems or over-the-door racks. Thread the hook through the hole for secure hanging. The utensil should hang straight without tilting.
Holes that are too small for standard S-hooks may need smaller hooks or a different storage method. Don’t force hooks through undersized holes—this can crack the wood.
Mixed-Handle Collections
If only some of your utensils have holes, use a hybrid system. Hang utensils with holes and store solid-handle items in drawers or crocks. This maximizes the efficiency of both storage types.
Label drawer compartments if using multiple storage locations. This helps other household members return items to the correct spot.
Maintain Proper Spacing
Drawer Spacing Requirements
Each wooden utensil needs 0.25 inches of space on either side. Tighter spacing causes handles to catch when removing items. This creates frustration and slows cooking prep.
Measure your available drawer space and divide by the number of compartments needed. Adjust divider placement if compartments are too narrow.
Vertical Storage Density
Crocks should hold no more than one utensil per inch of diameter. A 5-inch crock should contain a maximum of five utensils. Exceeding this guideline makes individual utensils difficult to grasp.
Check that you can remove any utensil without disturbing others. If you must move multiple items to access one, reduce the total number in the container.
Related Post: 7 Fixes for Kitchen Drawers That Overfill Too Easily
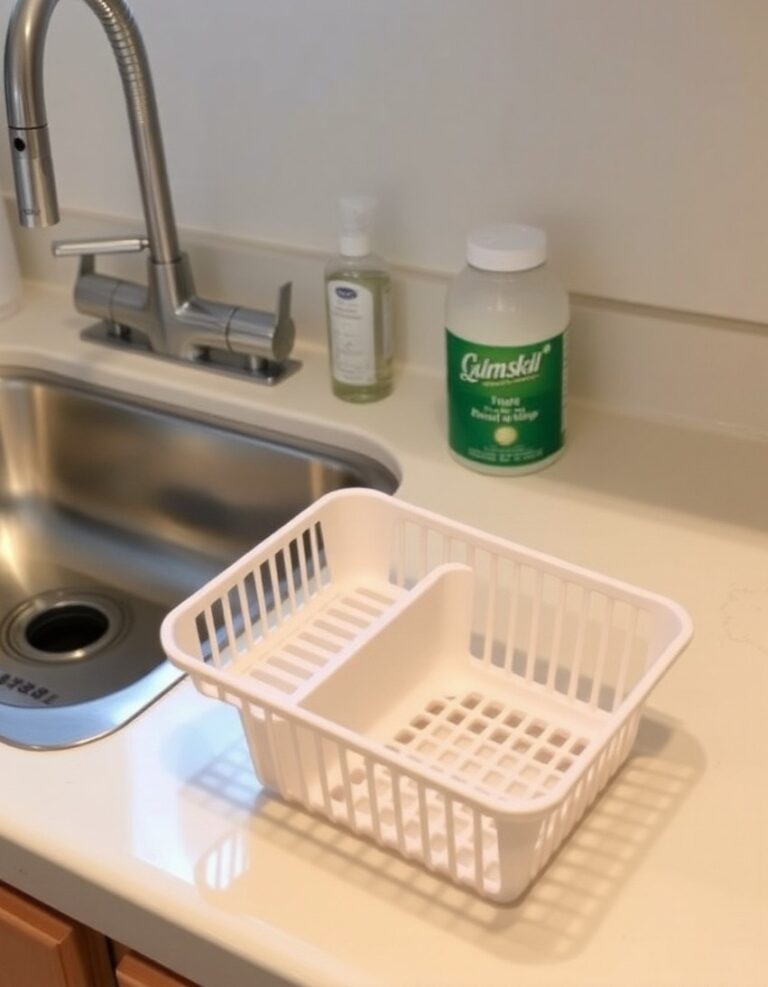
Prevent Moisture Damage During Storage
Drying Requirements
All wooden utensils must be completely dry before storage. Even slight dampness causes mold growth and wood swelling. Air-dry utensils for at least 2 hours after washing.
Place utensils on a dish towel with handles elevated. This allows air circulation around the entire surface. Don’t stack wet utensils.
Storage Location Limits
Avoid storing wooden utensils in cabinets directly above the dishwasher. Steam from the dishwasher vent can reach these areas. This creates excess humidity that damages wood over time.
Choose storage locations at least 12 inches away from the sink. Water splashes from washing dishes can reach nearby utensils.
For more helpful tips, check out our organization section.