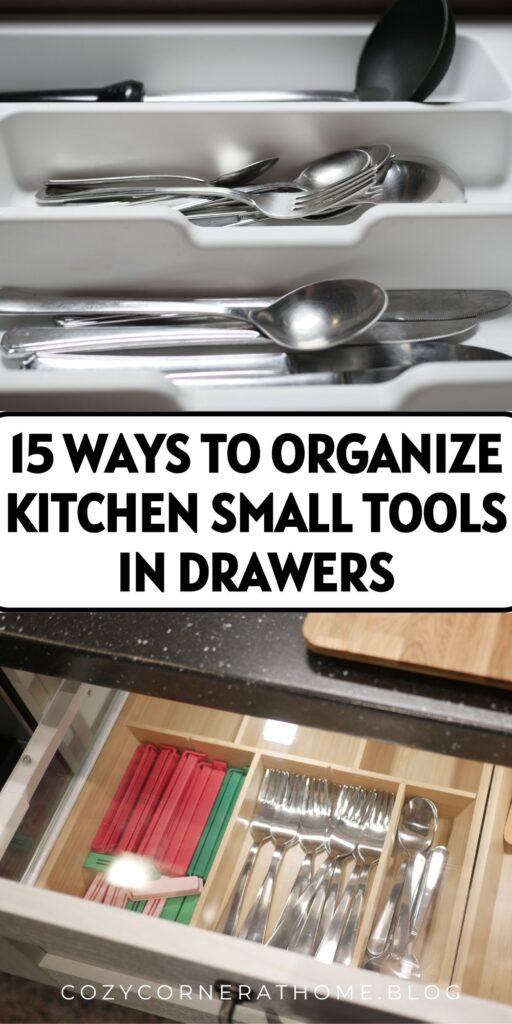
15 Ways to Organize Kitchen Small Tools in Drawers
This site contains affiliate links, view the disclosure for more information.
Kitchen drawers filled with small tools can quickly become chaotic without a clear system. Whisks tangle with spatulas, measuring spoons disappear under larger items, and finding the right tool takes longer than it should. Learning how to organize kitchen small tools in drawers improves access, protects tool edges, and reduces time spent searching.
This guide covers 15 practical methods to organize kitchen small tools in drawers. Each method includes specific tools, materials, and step-by-step instructions. Select the approaches that match your drawer dimensions, tool inventory, and budget.
1. Measure Drawer Dimensions Before Choosing Organizers
Measure the interior width, depth, and height of each drawer. Record measurements in inches or centimeters. Check for obstructions like drawer slides or uneven bottoms that reduce usable space.
Compare measurements to organizer product dimensions before buying. Leave a quarter-inch clearance on each side. This makes insertion and removal easier.
2. Use Expandable Drawer Dividers for Flexible Compartments
Insert spring-loaded dividers perpendicular to the drawer front. Space them to create compartments sized for specific tool categories. Adjust tension so dividers stay in place when the drawer opens and closes.
Store similar tools in each compartment. Keep whisks in one section, spatulas in another, and measuring spoons in a third. This method works best in drawers 17 to 22 inches wide.
3. Install Pegboard Inserts for Customizable Layouts
Cut pegboard to fit the drawer interior dimensions. Secure it with adhesive strips or small brackets if the drawer bottom is uneven. Insert pegs or hooks in a layout that matches your most-used tools.
Hang whisks, ladles, and slotted spoons on individual pegs. Group tools by function or size. Do not overload pegs, as heavy tools can cause them to bend or pull out.
4. Add Bamboo or Wood Utensil Trays with Fixed Slots
Place the tray in the drawer and assign one slot per tool type. Store measuring spoons, small whisks, and vegetable peelers in narrow slots. Use wider slots for spatulas and tongs.
Bamboo trays resist moisture better than plastic. Wipe trays clean monthly to prevent residue buildup.
5. Use Clear Acrylic Bins for Visual Grouping
Select bins in two or three sizes. Place smaller bins inside the drawer for items like bag clips, corn holders, and apple corers. Use larger bins for bulkier tools like garlic presses or can openers.
Stack bins only if drawer height allows. Keep frequently used tools in front bins for quick access.
Related Post: 6 Fixes for Cabinets With Hard to Reach Corner Space
6. Create Vertical Storage with Knife Block Inserts
Choose in-drawer knife blocks sized for your drawer depth. Insert knives blade-down into individual slots. Store small kitchen shears or honing steels in remaining slots.
Always place knife blocks toward the back of the drawer to prevent accidental contact when reaching for other items. Confirm the drawer closes fully with the block in place.
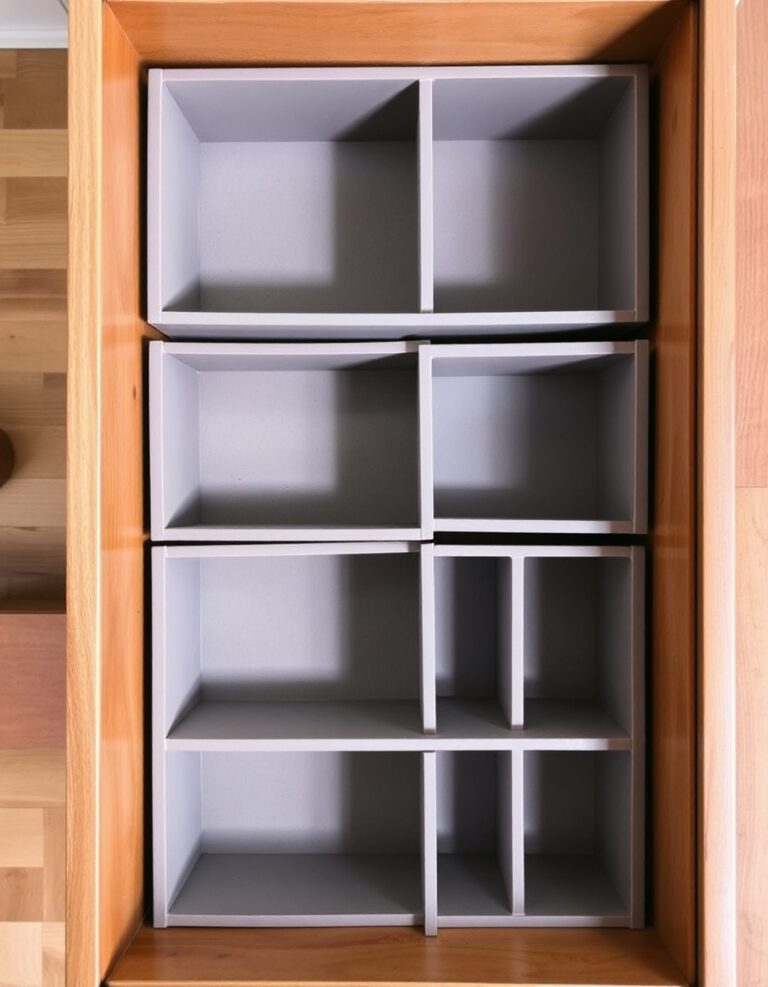
7. Install Drawer Organizer Kits with Interlocking Pieces
Arrange interlocking trays in a layout that fits your drawer. Snap pieces together to prevent shifting. Assign each tray to a tool category: one for measuring cups, one for graters, one for zesters.
Rearrange trays as needed when you add or remove tools. Most kits fit drawers 15 to 20 inches wide.
8. Use Tension Rods to Separate Wide Tools
Measure drawer width and purchase rods that extend one to two inches beyond that measurement. Twist rods to expand and press them firmly against drawer sides.
Place rods parallel to the drawer front to create lanes for cutting boards, baking sheets, or large spatulas. Position rods so tools stand upright without leaning.
9. Add Drawer Liners to Prevent Tool Slippage
Cut liners to match drawer dimensions. Press liners flat against the drawer bottom, smoothing out air bubbles. Choose foam or rubber liners for the best grip.
Avoid paper or fabric liners under heavy tools. They shift easily and collect crumbs. Clean liners every three months by removing and wiping with a damp cloth.
10. Store Small Tools in Labeled Pouches or Bags
Group similar small tools like pastry tips, skewers, or melon ballers. Place each group in a labeled pouch. Store pouches flat in a drawer section.
Use clear mesh bags to identify contents without opening. Label opaque pouches with permanent marker or adhesive labels. This method prevents loose items from rolling into drawer corners.
11. Arrange Tools by Frequency of Use
Identify tools you use daily or weekly. Position these items in the front third of the drawer. Move rarely used tools like specialty zesters or citrus reamers to the back or lower drawers.
Reassess placement every few months as cooking habits change. This method works with any organizer type.
12. Use Magnetic Strips for Metal Tools
Attach adhesive-backed magnetic strips to the inside walls or bottom of shallow drawers. Press metal tools like pizza cutters, can openers, or small knives against the strip.
Ensure the strip adheres fully before adding tools, as loose strips can shift and damage drawer interiors. This method works best in drawers less than three inches deep.
13. Install Tiered Drawer Inserts for Multi-Level Storage
Place a tiered insert in drawers six inches deep or more. Store shorter tools like measuring spoons and bottle openers on the lower level. Use the upper tier for taller items like whisks or mashers.
Check that the drawer closes completely with the insert in place. Some tiered systems include adjustable legs for custom height.
Also Read: 7 Fixes for Kitchen Drawers That Overfill Too Easily
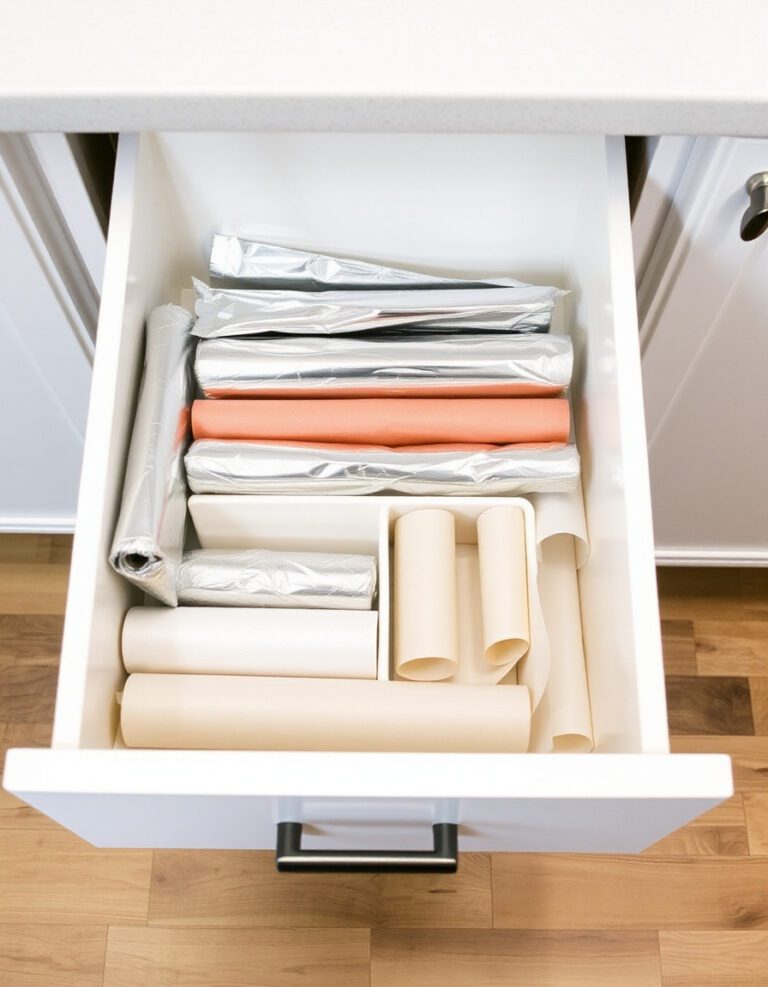
14. Repurpose Small Boxes or Containers as Dividers
Collect clean boxes from tea, spices, or small electronics. Trim boxes to drawer height if needed. Arrange boxes in the drawer to create sections.
Replace cardboard boxes if they become damp or damaged. Plastic containers last longer and wipe clean easily. This method suits renters or anyone avoiding permanent organizers.
15. Combine Multiple Methods for Custom Solutions
Use expandable dividers for one section, clear bins for another, and a utensil tray for a third. Match each organizer to the tools stored in that area.
Start with one method and add others as needed. Avoid over-organizing, as empty space allows flexibility when your tool collection changes.
Material-Specific Considerations
Plastic organizers resist moisture and clean easily with soap and water. Wood and bamboo organizers add durability but require occasional oiling to prevent cracking. Metal organizers suit heavy tools but may scratch drawer bottoms without protective liners.
Avoid cardboard organizers in drawers near sinks or dishwashers where humidity is high. Replace any organizer that develops sharp edges or cracks.
Read More:
- How to Organize Kitchen Wooden Spoons and Spatulas
- How to Organize Kitchen Cabinets in Small Spaces
- How to Organize Kitchen Utensils in a Messy Drawer
Maintenance and Reassessment
Remove all tools and organizers every six months. Wipe drawer interiors with a damp cloth to remove crumbs and residue. Discard duplicate or broken tools.
Adjust organizer placement if your cooking habits change. Add or remove dividers based on new tools or cleared space. Regular maintenance prevents clutter from returning.
For more helpful tips, check out our organization section.