How to Organize Kitchen Countertops for Small Appliances
This site contains affiliate links, view the disclosure for more information.
Small appliances quickly clutter kitchen countertops. Toasters, coffee makers, blenders, and stand mixers compete for limited surface space. Most kitchens lack enough room to keep every appliance visible and accessible.
Different organizing methods exist because kitchens vary in size, layout, and storage options. Some homes have deep cabinets or pantry space. Others rely entirely on countertop and wall-mounted solutions. The best approach depends on which appliances you use daily and which stay idle for weeks.
This guide covers five organization strategies. You will learn how to assess your current setup, identify daily-use items, create zones by function, use vertical and hidden storage, and maintain clear workspace. Each method includes specific steps and tool recommendations.
Assess Current Appliance Inventory and Usage Frequency
Remove all small appliances from countertops and cabinets. Place them on a table or cleared floor space. Count each item and write down the last time you used it.
Group appliances into three categories:
- Daily use: coffee maker, toaster, kettle
- Weekly use: blender, food processor, hand mixer
- Monthly or seasonal: waffle maker, slow cooker, ice cream maker
Measure the footprint of each appliance. Record width, depth, and height in inches. Note which items have cords and which require proximity to outlets.
Check for duplicates. Two blenders or three slow cookers indicate redundancy. Donate or discard appliances you have not used in six months unless they serve a specific seasonal purpose.
Establish Functional Zones Based on Task Types
Divide your countertop into work zones. Each zone handles one type of kitchen task. Common zones include beverage prep, food prep, baking, and cooking.
Place coffee-related appliances near the sink or refrigerator. This reduces steps when filling water reservoirs or accessing milk. Keep the toaster near the refrigerator if you make breakfast sandwiches.
Position the food processor and blender near the main prep area. Store cutting boards and mixing bowls in base cabinets directly below. This setup minimizes movement between appliance use and ingredient prep.
Do not place heat-generating appliances under wall cabinets. Toasters and toaster ovens need clearance above to vent heat safely. Check manufacturer guidelines for minimum clearance distances.
Reserve one corner or end section as a permanent “appliance garage” zone. This area holds less-used items in open view but pushed back from the working edge of the counter.
Read More: 19 Ways to Organize Kitchen Under the Sink for Easy Access
Use Vertical Storage Solutions for Infrequent Items
Install floating shelves 18 to 24 inches above the countertop. Place lightweight appliances like hand mixers or immersion blenders on these shelves. Ensure shelves can support the weight of the appliance plus its accessories.
Mount a pegboard on an empty wall near the counter. Hang small appliances with handles or loops. Use heavy-duty hooks rated for at least 10 pounds each.
Add a rolling cart with two or three tiers. Store seasonal appliances on the cart and move it to a pantry or closet when not needed. Choose carts with locking wheels to prevent movement during use.
Use stackable appliance risers to create two levels on one section of counter. Place a microwave on the top tier and a toaster oven below. Verify that the riser supports the combined weight and provides ventilation.
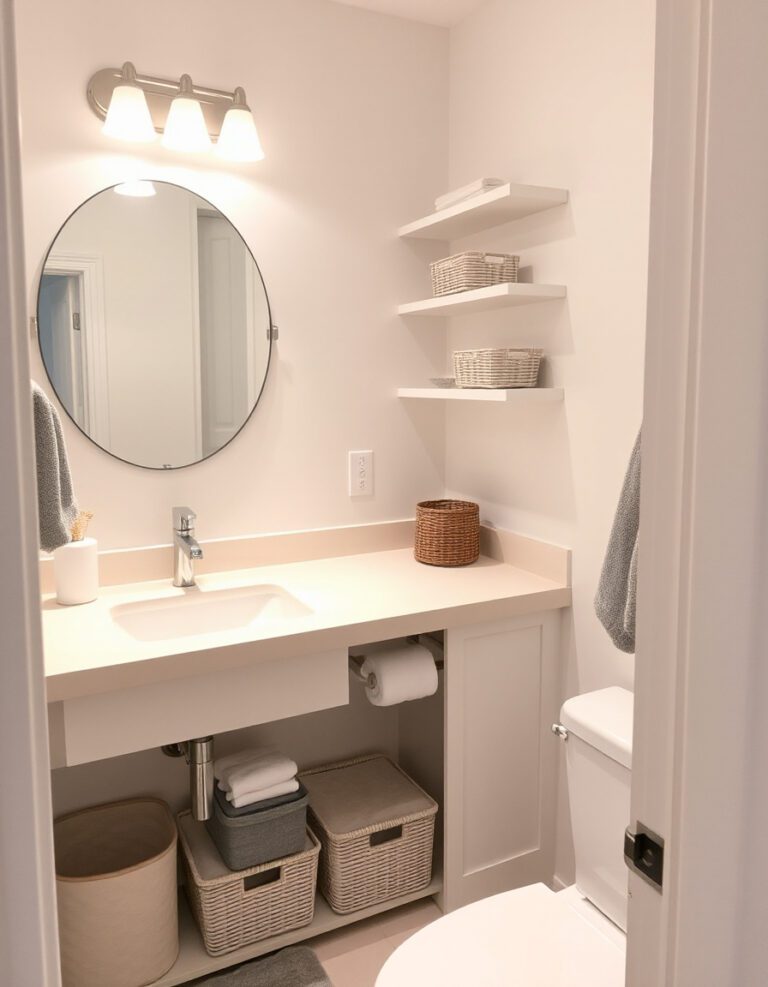
Store Non-Daily Appliances in Cabinets and Pantries
Measure interior cabinet dimensions before storing appliances. Include height, width, and depth. Account for door hinges and shelves that reduce usable space.
Place heavy appliances like stand mixers on lower shelves or in base cabinets. Use a pull-out shelf or drawer system to avoid lifting the appliance repeatedly. Pull-out shelves typically support 50 to 100 pounds.
Install wire racks on the inside of cabinet doors. Hang lightweight items like electric can openers or small food scales. Ensure door hinges can handle the added weight.
Group appliance accessories with the appliance itself. Store blender cups, food processor blades, and mixer attachments in labeled bins inside the same cabinet. This prevents searching multiple locations during use.
Unplug appliances before storing them in cabinets. Wrap cords loosely and secure with reusable ties. Avoid tight coils that stress internal wiring.
Read More:
- How to Organize Kitchen Wooden Spoons and Spatulas
- How to Organize Kitchen Cabinets in Small Spaces
- How to Organize Kitchen Utensils in a Messy Drawer
Maintain Only Essential Appliances on Active Counter Space
Identify which appliances you use every single day. For most households, this list includes a coffee maker and toaster. Everything else can move to secondary storage.
Place daily appliances in the back corner of the counter. Push them against the wall but leave enough space to access controls and cords. This positioning keeps the front edge of the counter clear for food prep.
Use appliance mats or trays to define each appliance’s permanent spot. The mat catches crumbs and spills. It also signals where the appliance should return after cleaning.
Limit countertop appliances to three or fewer items. This creates visual calm and preserves workspace. Even small kitchens can accommodate three appliances if positioned strategically.
Rotate seasonal appliances onto the counter only when needed. Move the waffle maker to the counter on weekends and return it to the cabinet afterward. This prevents permanent clutter.
Create an Appliance Garage or Hideaway Cabinet
An appliance garage is a cabinet with a tambour door or lift-up door. It sits on the countertop and hides appliances while keeping them accessible. Standard sizes range from 18 to 30 inches wide.
Position the appliance garage in a corner or along a side wall. Place items you use several times per week inside. Leave them plugged in if the garage includes interior outlets.
Install interior outlets if your appliance garage does not have them. Hire a licensed electrician to add a GFXCI-protected outlet inside the cabinet. This allows you to use appliances without pulling them out.
Choose a garage with a door that opens fully and stays open. Tambour doors that stick or fall create frustration. Test the door mechanism before installation.
Ensure adequate ventilation inside the appliance garage. Do not use heat-generating appliances like toasters in a fully enclosed space. Check manufacturer instructions for ventilation requirements.
Implement Drawer-Based Storage for Small Appliances
Deep drawers can store appliances that fit when laid on their side. Measure drawer interior height and width before purchasing appliances. Many modern drawers offer 8 to 10 inches of depth.
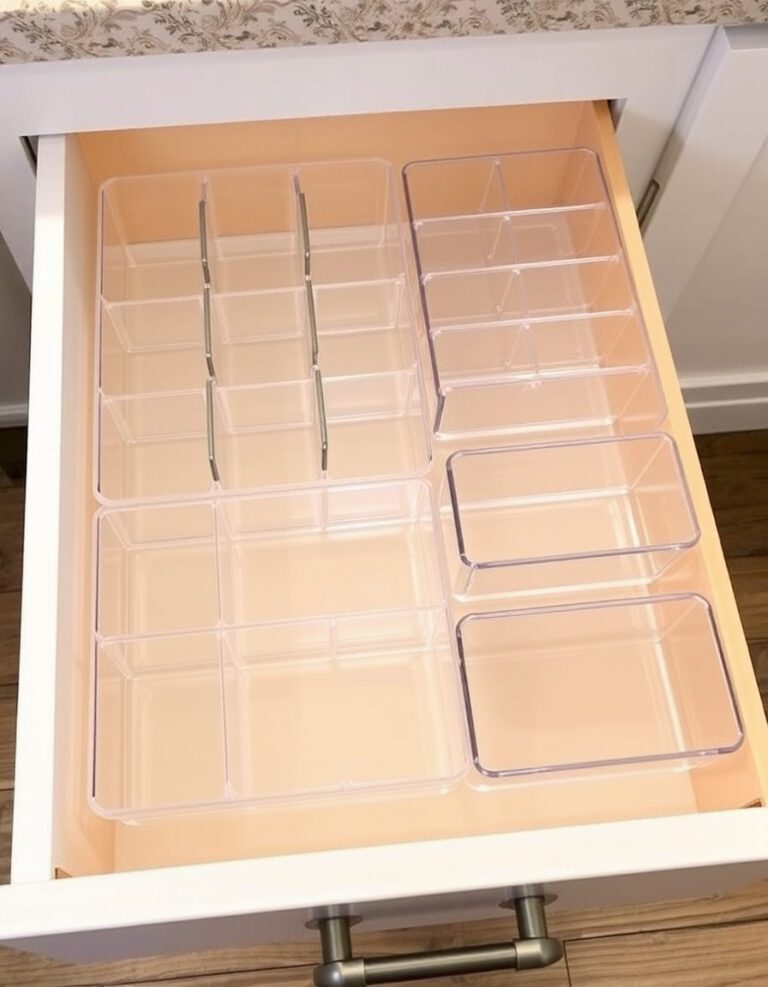
Use drawer dividers to prevent appliances from shifting. Install adjustable dividers that create custom compartments. Secure dividers with mounting hardware rather than adhesive.
Store hand mixers, immersion blenders, and electric whisks in drawers. Keep beaters and attachments in small bins within the same drawer. Label each bin to speed retrieval.
Line drawers with non-slip shelf liner. This protects both the drawer and the appliance from scratches. The liner also reduces noise when opening and closing drawers.
Avoid storing heavy appliances in drawers unless the drawer has full-extension glides rated for the weight. Standard drawer glides support 50 to 75 pounds. Reinforced glides support up to 100 pounds.
Related Post: 21 Ways to Organize Kitchen Small Appliances in Cabinets
Establish a Rotation System for Seasonal Appliances
List appliances by season and typical use dates. Ice cream makers appear in summer. Slow cookers and pressure cookers peak in fall and winter. Waffle makers and griddles serve holiday breakfasts.
Store off-season appliances in a basement, garage, or high cabinet. Bring them to the kitchen one week before anticipated use. Return them to deep storage one week after the season ends.
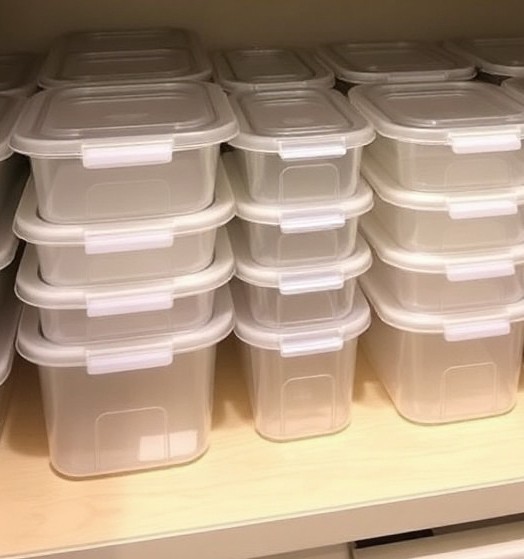
Use clear plastic bins labeled by season. Store the appliance, its accessories, and its manual in the same bin. Stack bins on shelving units in a climate-controlled space.
Clean appliances before rotating them into storage. Wipe exteriors with a damp cloth and dry thoroughly. Remove food residue from blades and attachments.
Photograph the contents of each bin and tape the photo to the outside. This eliminates guessing when you need a specific appliance mid-season.
Maintain Clear Workflow Space Daily
Designate at least 24 inches of continuous counter space as a no-appliance zone. Use this area for cutting, mixing, and plating. Mark the zone with a large cutting board or silicone mat.
Return appliances to their assigned spots immediately after use. Wipe down the appliance and the counter beneath it. This habit prevents gradual sprawl.
Enforce a one-in-one-out rule. When you acquire a new appliance, remove an old one from the kitchen. This prevents inventory creep.
Evaluate your system every three months. Move appliances between active counter space and storage based on actual use. Adjust zones if your cooking habits change.
Keep frequently used items within one step of their primary use location. Place the coffee maker within reach of the sink. Position the toaster near the bread storage. Reducing steps reduces clutter.
For more helpful tips, check out our organization section.