15 Ways to Organize Kitchen Containers for Easy Access
This site contains affiliate links, view the disclosure for more information.
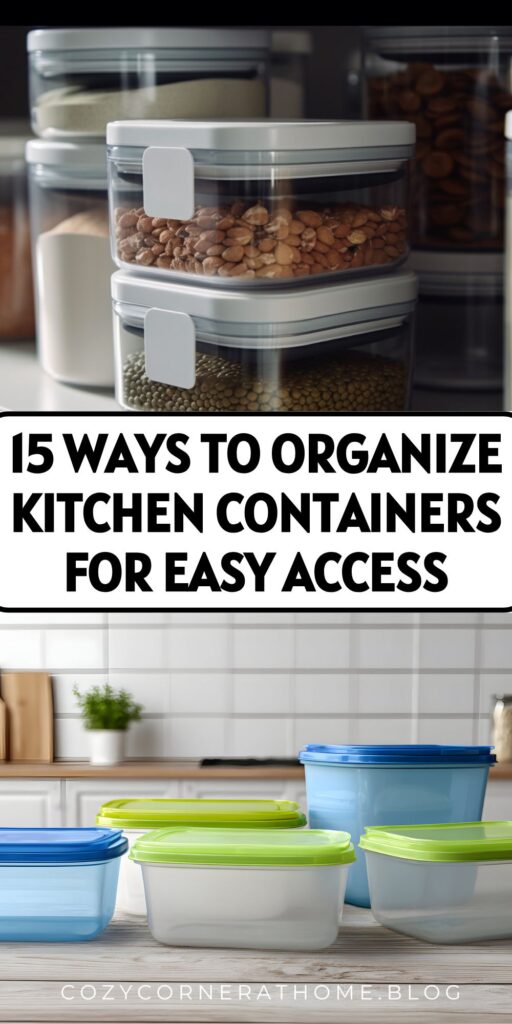
Kitchen containers pile up quickly. Mismatched lids, stacked bins, and cluttered cabinets make finding the right container frustrating. Learning how to organize kitchen containers creates a functional storage system that saves time during meal prep and cleanup.
This guide covers fifteen practical methods to organize kitchen containers by type, frequency of use, and available space. Each method includes specific steps and tools. You can apply one approach or combine several based on your kitchen layout and container collection.
Remove and Sort All Containers First
Pull every container and lid from cabinets and drawers. Place them on a counter or table. This step reveals the full scope of your collection and identifies duplicates or damaged items.
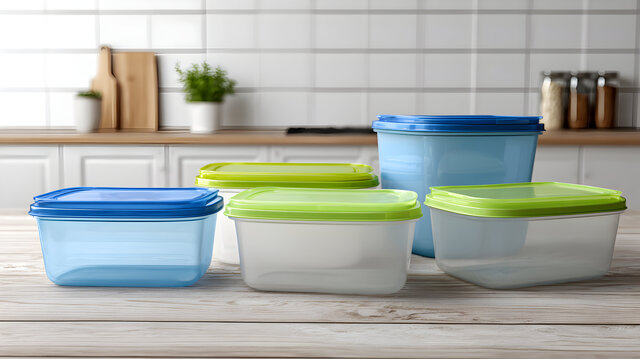
Match lids to containers. Recycle or discard any pieces without a partner. Check each container for cracks, stains, or warping. Damaged containers often leak or fail to seal properly.
Group containers by type: food storage, bulk storage, specialty containers like produce keepers. Separate glass from plastic. This sorting makes the next steps faster and more targeted.
Nest Same-Shape Containers by Size
Stack containers of the same shape inside each other. Square containers nest with square containers. Round with round. This method reduces the horizontal space each set occupies.
Store lids separately from nested containers. Lids do not nest efficiently and create unstable stacks when mixed with bases. Keep the tallest containers at the back of the cabinet or shelf.
Label the top container in each nested set if contents are not visible. This prevents unstacking to check sizes. Use a label maker or masking tape with a marker.
Store Lids Vertically in a Rack or File Organizer
Purchase a wire file organizer, tension rod system, or dedicated lid rack. Install it inside a cabinet door or on a shelf. Slot lids vertically between dividers.
Arrange lids by size from smallest to largest. This order makes visual scanning faster. If using a tension rod, place rods horizontally and slide lids between them.
Wipe lids clean before storing them vertically. Moisture or food residue can transfer between lids when stored this way. Check that lids are fully dry to prevent mold growth.
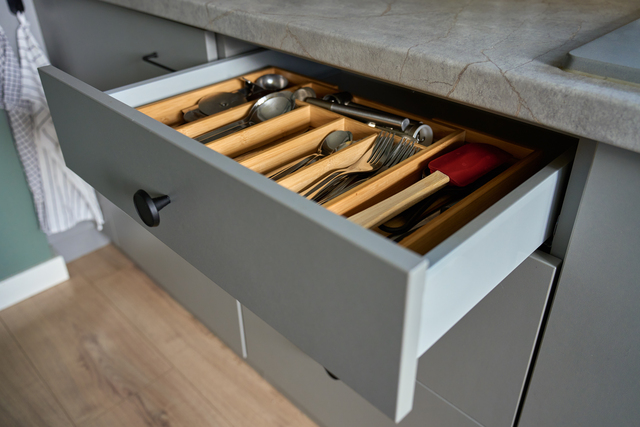
Use Drawer Dividers for Flat Storage
Install adjustable drawer dividers in a deep kitchen drawer. Create compartments sized for your container bases and lids. This works best for square or rectangular containers.
Stack containers flat with lids on top of each base. Alternately, store lids in one divider section and bases in another. Flat storage allows you to see all items at once without lifting or moving stacks.
Measure your drawer depth before purchasing dividers. Containers taller than the drawer will prevent it from closing. Choose containers under 4 inches tall for standard kitchen drawers.
Group Containers by Frequency of Use
Identify containers used daily, weekly, and rarely. Place daily-use containers at eye level or in the most accessible cabinet. Store rarely used items on high shelves or in the back.
Keep lunch-packing containers in a designated area near the refrigerator. Store bulk or seasonal containers in a pantry or garage. This reduces visual clutter in primary work zones.
Review and adjust groupings every few months. Usage patterns change with seasons, household size, and meal habits. Move containers as needed to maintain efficiency.
Also Read: 19 Ways to Organize Kitchen Under the Sink for Easy Access
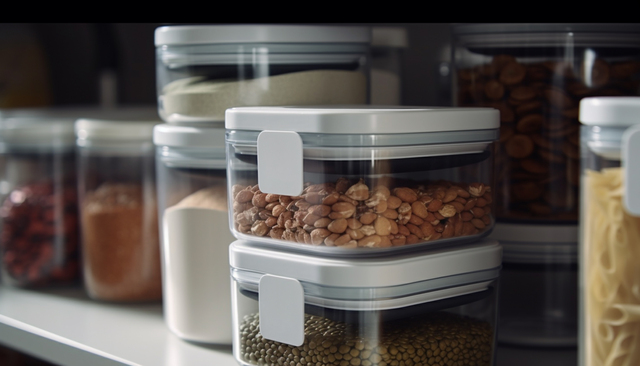
Organize Kitchen Containers in Clear Bins or Baskets
Place containers and lids inside clear plastic bins. Label each bin by container type or size range. Stack bins on pantry shelves or inside cabinets.
This method contains smaller containers that might tip or slide. It also creates a portable unit you can pull out entirely to access items at the back. Choose bins with handles for easier maneuvering.
Avoid overfilling bins. Leave 1–2 inches of space at the top so you can see contents without removing the bin. Overpacked bins become difficult to access and may tip when pulled.
Install Pull-Out Shelves or Drawers
Retrofit existing cabinets with pull-out shelving systems. These slide forward to reveal items stored at the back. They work well for deep cabinets where reaching is difficult.
Measure cabinet width, depth, and height before purchasing hardware. Most pull-out systems require at least 1/2 inch clearance on each side. Follow manufacturer installation instructions precisely.
Place heavy containers like glass storage sets on lower pull-out shelves. Keep lightweight plastic containers on upper pull-outs. This prevents strain when sliding shelves in and out.
Use a Turning Tray for Corner Cabinets
Install a turntable or turning tray in corner cabinets. Stack containers on the rotating platform. Spin the platform to access items without reaching into awkward spaces.
Choose a turning tray diameter 2–3 inches smaller than the cabinet width. This prevents the platform from catching on cabinet walls. Wipe the surface clean regularly to ensure smooth rotation.
Avoid stacking containers too high on a turning tray. Tall stacks become unstable when the platform rotates. Keep stacks under 8 inches for safety.
Dedicate One Shelf to Lids Only
Clear one shelf in a cabinet or pantry. Store all lids upright or flat on this shelf. Arrange them by size or shape.
Use a wire shelf divider or small bookends to keep lids from tipping. If storing flat, place a non-slip liner under lids to prevent sliding. This method works best when you have at least 12 inches of vertical space.
Pair this with a separate container-only shelf below. Keep the two shelves close together to reduce travel time when grabbing both pieces.
Stack Containers with Lids Attached
Snap lids onto containers before storing them. Stack the assembled units in a cabinet. This method guarantees you always have a matched set ready.
This approach uses more vertical space than nesting. It works best for frequently used containers where convenience outweighs space efficiency. Avoid stacking more than 4–5 units high to prevent tipping.
Wipe containers dry before sealing lids. Trapped moisture can cause odors or mold. Leave lids slightly ajar if containers are not completely dry.
Read More:
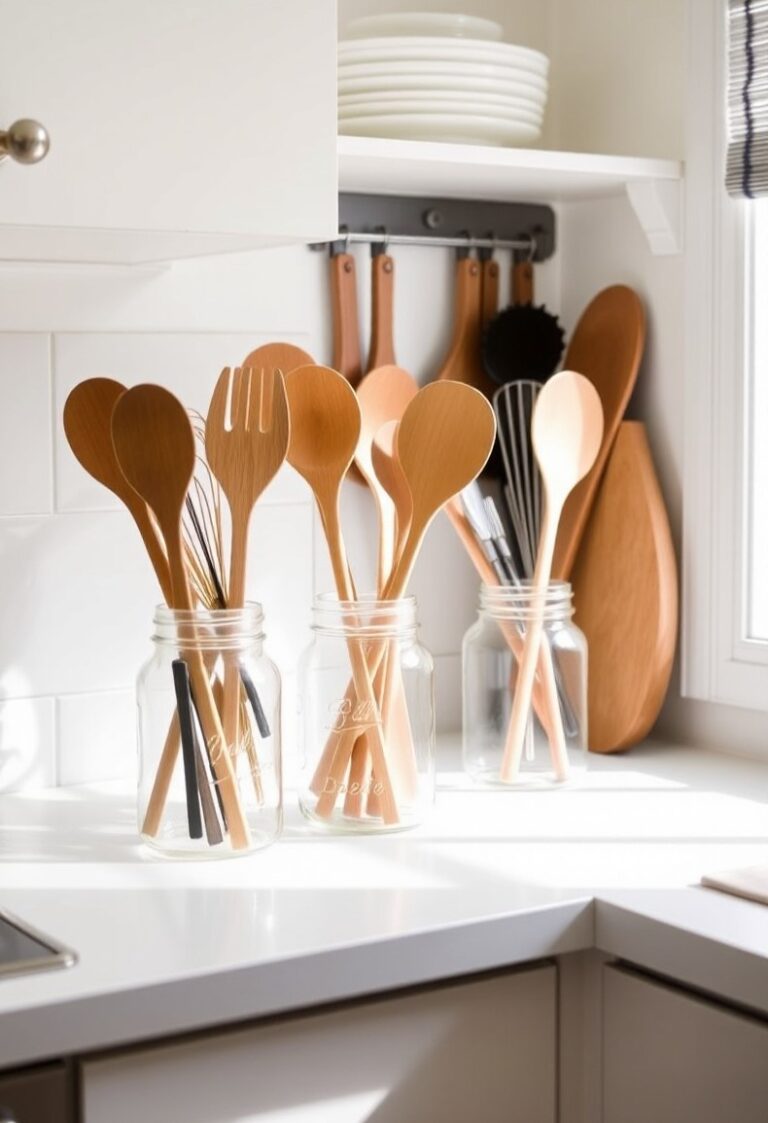
- How to Organize Kitchen Wooden Spoons and Spatulas
- How to Organize Kitchen Cabinets in Small Spaces
- How to Organize Kitchen Utensils in a Messy Drawer
Use Magazine Holders for Baking Pans and Flat Lids
Repurpose vertical magazine holders or file boxes. Store flat container lids, baking sheets, or shallow containers upright inside them. Place holders on pantry shelves or inside cabinets.
This keeps flat items from becoming buried under stacks. It also makes grabbing a single lid quick and easy. Choose holders with open fronts for visibility.
Label the spine of each holder if storing multiple types. For example, “Small Lids” or “Rectangle Containers.” This speeds up visual scanning when you’re in a hurry.
Mount a Pegboard for Customizable Storage
Install a pegboard on a pantry or cabinet wall. Use pegboard hooks, baskets, and shelves to create a custom container storage system. Rearrange hooks as your needs change.
Hang lightweight containers directly on hooks. Use small baskets for lids or nested container sets. This method works well in walk-in pantries or utility rooms where wall space is available.
Secure the pegboard firmly to wall studs. Containers and glass storage sets can be heavy. Improper mounting may cause the pegboard to sag or pull away from the wall.
Store Less-Used Containers in Labeled Bins on High Shelves
Place seasonal or specialty containers in labeled bins. Store bins on top shelves or in a garage. Examples include holiday cookie tins, picnic containers, or bulk flour storage.
Use a step stool to access high shelves safely. Avoid overloading bins beyond your ability to lift them down. Keep a written inventory list taped inside the cabinet door for quick reference.
Check stored containers twice per year. Confirm seals are intact and materials have not degraded. Replace any containers showing signs of wear before they fail during use.
Organize Kitchen Containers by Material Type
Separate glass containers from plastic. Store glass on lower shelves to reduce breakage risk if dropped. Keep plastic containers on upper shelves or in lighter-duty storage areas.
Group stainless steel, silicone, and specialty materials separately. This makes it easier to grab the right type for specific tasks. For example, glass for oven use or silicone for freezer storage.
Consider temperature and light exposure for each material. Store plastic containers away from heat sources like ovens or dishwashers. UV exposure can degrade some plastics over time.
Read More: How to Organize Kitchen Countertops for Small Appliances
Create a Lid-Matching Station During Meal Prep
Designate one drawer or shelf section as a temporary staging area. Pull out containers and lids you plan to use that day. Match them before filling.
Return matched sets to their storage location after washing. This habit prevents lids and containers from scattering across multiple shelves. It also reduces the chance of losing pieces.
Clean and dry containers immediately after use. Storing wet or dirty containers leads to odors and stains. It also disrupts your organization system when you need to leave items out to dry.
Reassess and Purge Every Six Months
Set a recurring calendar reminder to review your container collection. Remove duplicates, damaged items, and containers you no longer use. Donate usable extras to shelters or food banks.
Update your storage method if your current system no longer works. Household size, cooking habits, and kitchen layouts change. Adjust your organization approach to match current needs.
Count how many containers you actually use in a typical month. Store only that number plus a small backup supply. Excess containers create clutter without adding functionality.
For more helpful tips, check out our organization section.