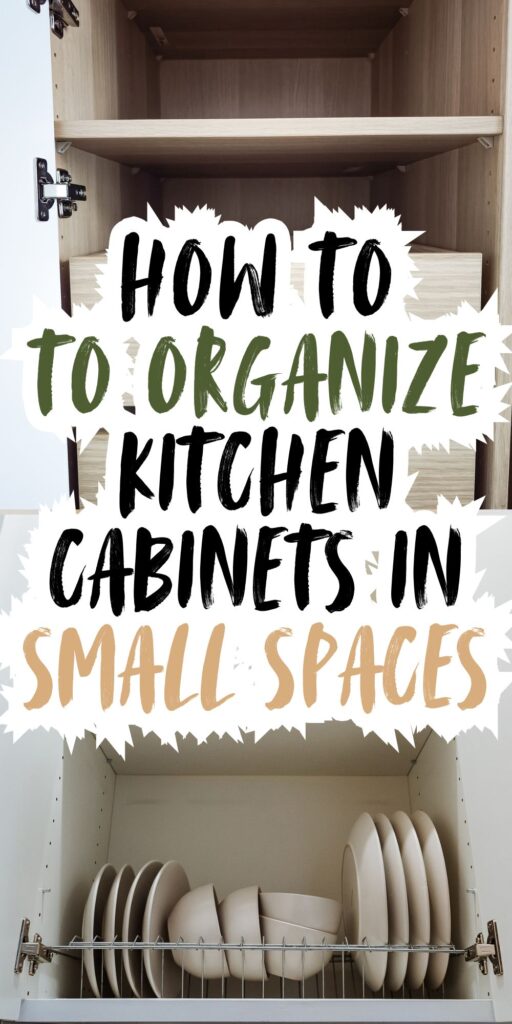
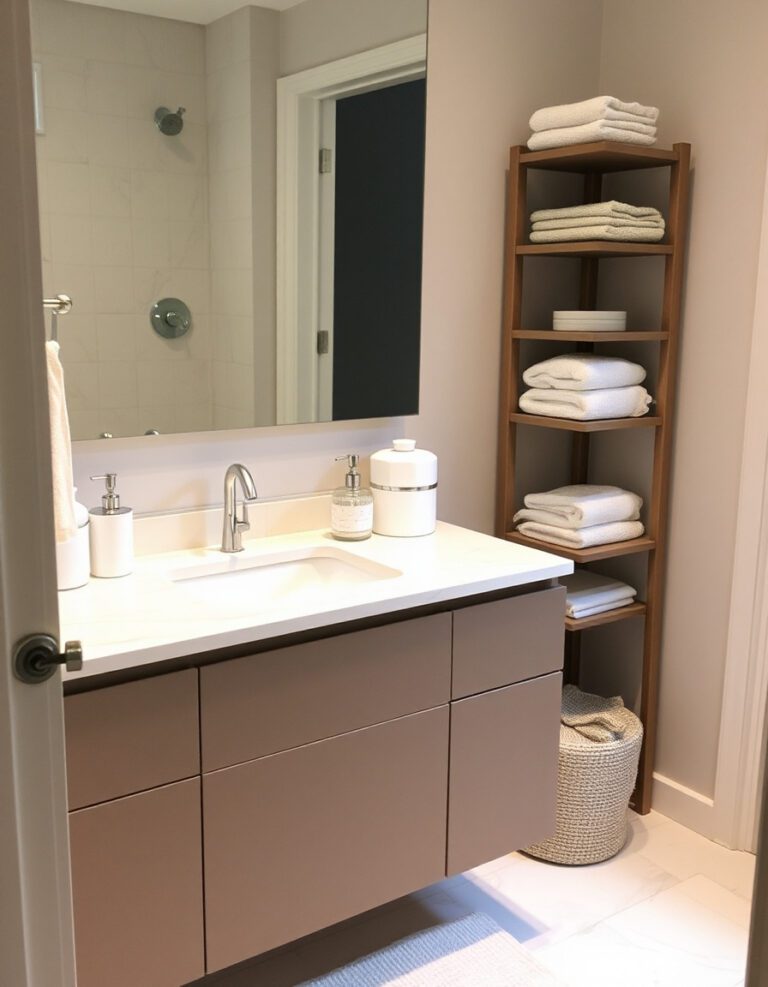
How to Organize Kitchen Cabinets in Small Spaces
This site contains affiliate links, view the disclosure for more information.
Small kitchens require strategic storage to function efficiently. Learning how to organize kitchen cabinets in small spaces can add usable storage and reduce clutter even when square footage is limited. The right approach depends on your cabinet depth, shelf height, and what you store most often.
Different organizing methods work for different cabinet types. Pull-out shelves work well in deep base cabinets. Stackable risers maximize vertical space in shallow upper cabinets. Some solutions require installation, while others use freestanding organizers.
This guide covers preparation steps, vertical and zonal organizing methods, tool-specific solutions, and maintenance boundaries. Each section includes tools, measurements, and limitations to help you choose the right approach for your cabinet layout.
Assess Cabinet Space Before Organizing
Empty one cabinet completely before buying organizers. Measure interior width, depth, and height with a tape measure. Write down dimensions for each shelf or compartment.
Check for pipes, hinges, or uneven surfaces that limit usable space. Note which shelves are adjustable. This prevents buying organizers that don’t fit or block cabinet function.
Identify which items you access daily versus weekly. Place frequently used items at eye level or in easy-reach zones. Store occasional-use items on higher or lower shelves.
Remove and Sort All Cabinet Contents
Take everything out of the cabinets you plan to organize. Place items on a counter or table where you can see them all at once. This step reveals duplicates and expired items.
Group similar items together. Create piles for baking supplies, canned goods, dishes, and cookware. Discard expired food, chipped dishes, and tools you haven’t used in six months.
Wipe cabinet interiors with a damp cloth before reorganizing. Let shelves dry completely to prevent moisture damage to organizers or stored items.
Use Vertical Dividers
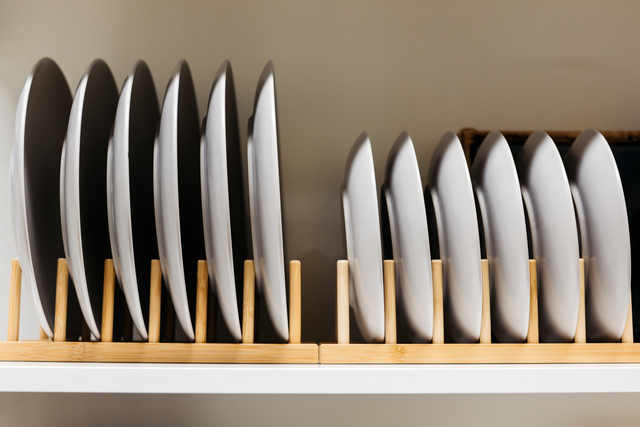
Install vertical dividers or adjustable bake-ware organizer in base cabinets to store baking sheets, cutting boards, plates, and pot lids upright. Measure the cabinet width and height before selecting dividers. Most adjustable dividers fit cabinets 12 to 24 inches wide.
Place dividers with the tallest items in back and shortest in front. This keeps everything visible and prevents items from tipping. Some dividers require screws for stability in high-traffic cabinets.
Leave one inch of clearance between the divider top and the shelf above. This allows you to slide items in and out without catching on the shelf edge.
Install Stackable Shelf Risers for Dishes and Cans
Stackable risers create two levels of storage in a single cabinet shelf. Choose risers that are half the height of your cabinet interior to maximize space. Metal or bamboo risers support heavier items like canned goods or ceramic plates.
Place shorter items like mugs or spice jars on the riser surface. Store taller items like cereal boxes or pasta containers underneath. This method works best in cabinets with at least 12 inches of vertical clearance.
Measure riser width to ensure it doesn’t block access to items at the back of the shelf. Risers wider than 10 inches may make rear items hard to reach in standard depth cabinets.
Organize Kitchen Cabinets in Small Spaces with Turning Tray
Turning trays work well in corner cabinets and deep shelves where items get lost in back. Measure the shelf depth and diameter before purchasing. Most kitchen turning trays range from 10 to 16 inches in diameter.
Place items you use together on the same turntable. Group oils and vinegars, or group breakfast items. Avoid overloading one side, which causes uneven spinning.
Use divided turning trays for small items like spice jars or condiment bottles. The dividers prevent items from sliding into each other when the turntable rotates.
Add Under-Shelf Baskets for Extra Storage
Under-shelf baskets attach to existing shelves and hang below to create a new storage level. These work in cabinets with at least four inches of clearance between shelves. Baskets typically hold lightweight items like napkins, snack bags, or dish towels.
Slide the basket’s metal frame over the shelf edge until it locks in place. No tools are required for most models. Measure shelf thickness before buying to ensure the basket fits your shelf edge.
Avoid storing heavy items like cans or jars in under-shelf baskets. Most baskets support up to two pounds. Overloading can bend the frame or damage the shelf edge.
Use Door-Mounted Racks for Lightweight Items
Over-the-door racks add storage without taking up shelf space. Measure cabinet door height and check that the rack doesn’t interfere with shelf contents when the door closes. Most racks add one to three inches of depth to the door.
Store lightweight items like aluminum foil, plastic wrap, or cleaning gloves on door racks. Heavier items can strain hinges over time. Test the door swing after installation to ensure it closes fully.
Adjust or remove door racks if the cabinet door doesn’t latch properly. Some cabinet styles have inset doors that don’t accommodate door-mounted organizers.
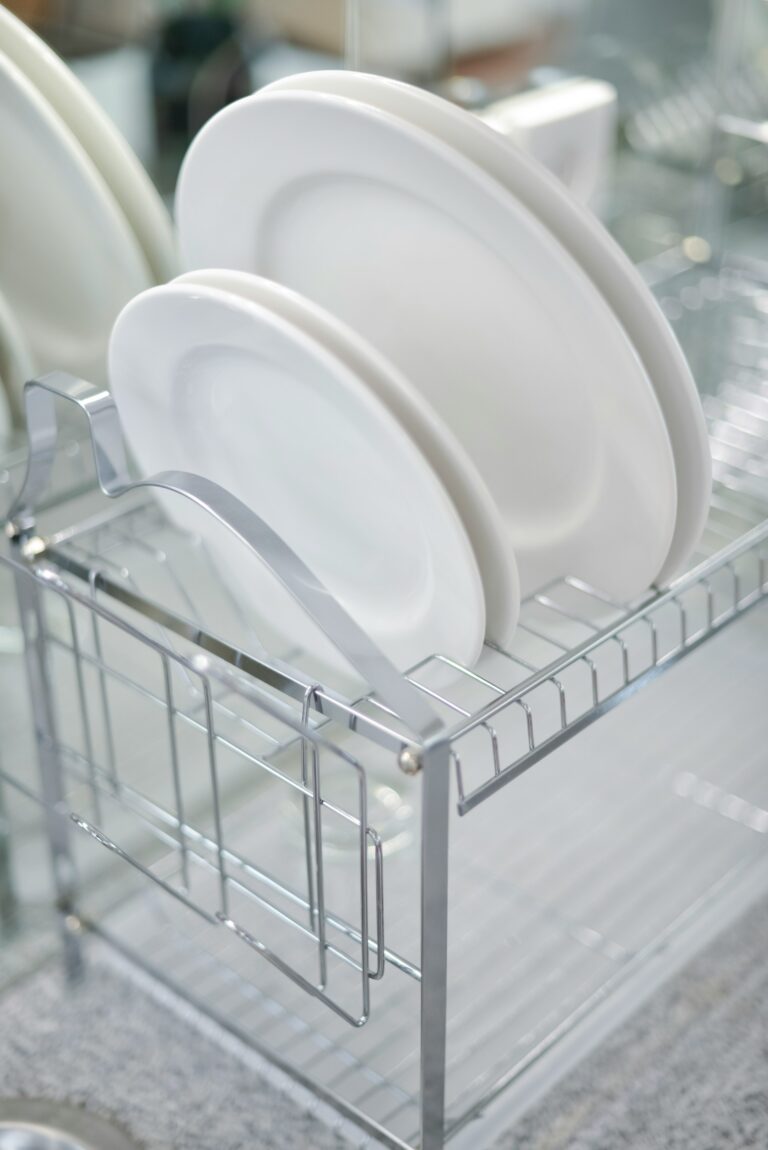
Implement Pull-Out Drawers in Deep Base Cabinets

Pull-out drawer systems bring items at the back of deep cabinets into view. These require installation with screws and a drill. Measure cabinet width and depth to select drawers that fit without blocking the door swing.
Install drawer slides on both sides of the cabinet interior for stability. Follow manufacturer instructions for screw placement. Most systems require at least one inch of clearance on each side.
Test the drawer fully extended before loading it with items. Maximum weight capacity ranges from 25 to 100 pounds depending on the slide quality. Overloading can cause the drawer to stick or the slides to bend.
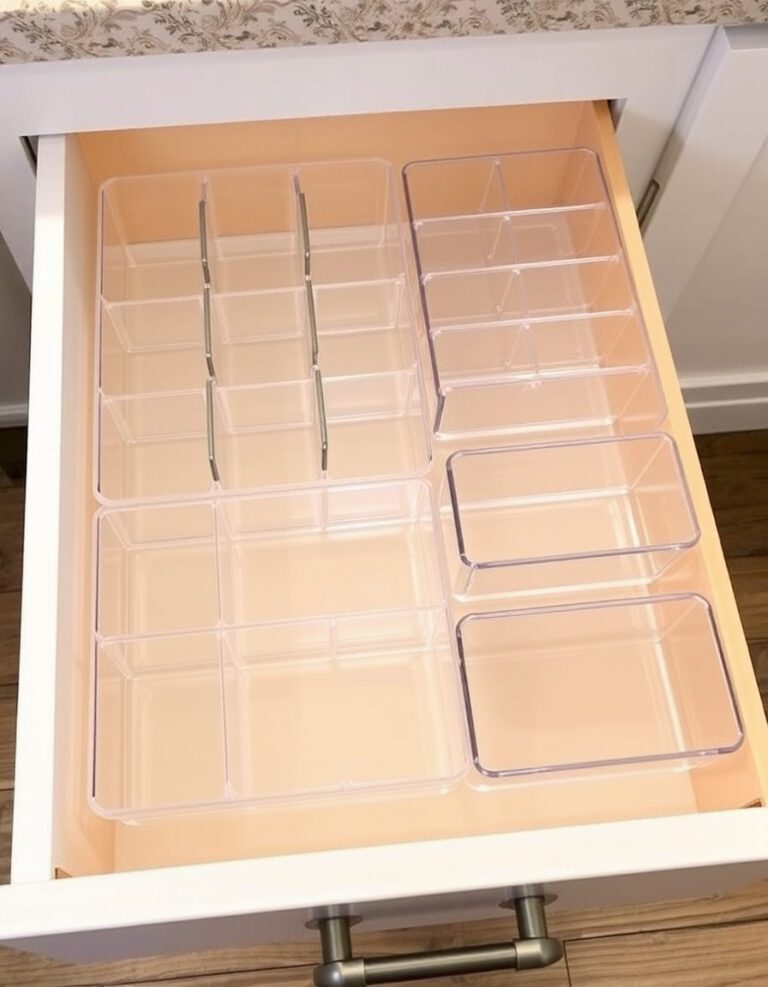
Store Small Items in Clear Bins with Labels
Clear plastic bins group small items and prevent them from scattering in cabinets. Choose bins that are half the depth of your shelf so items remain visible and accessible. Label each bin with contents using a label maker or permanent marker.
Stack bins only if you can easily lift the top bin to access the bottom one. Store lighter items like tea bags or seasoning packets in upper bins. Place heavier items like canned goods in lower bins.
Leave two inches of space between the bin top and the shelf above. This allows you to remove bins without scraping the shelf or spilling contents.
Group Items by Cooking Zone
Organize kitchen cabinets in small spaces using a zone-based system. Store baking supplies near the oven. Place oils, spices, and utensils near the stove. Keep dishes and glassware near the dishwasher or sink.
This reduces movement when cooking and makes items easier to find. Measure the distance between your primary work zones before assigning storage. Items used in multiple zones should go in the most central cabinet.
Adjust zones based on your cooking habits. If you bake rarely, store baking supplies in a less accessible cabinet. Prioritize space for items you use daily.
Use Tension Rods to Create Dividers
Tension rods installed vertically create adjustable dividers for storing pan lids, cutting boards, or trays. Measure cabinet height and purchase rods that extend slightly longer. Most tension rods adjust from 12 to 48 inches.
Install two rods parallel to each other, spaced four to six inches apart. Twist each rod to extend it until it presses firmly against the top and bottom of the cabinet. Slide items into the space between the rods.
Check rod tension monthly. Rods can loosen over time, especially in cabinets with heavy use. Re-tighten by twisting clockwise.
Maximize Corner Cabinet Storage
Corner cabinets often have deep, awkward spaces that are hard to organize. Install a two-tier turning trays or a pull-out corner system to access items at the back. Measure the cabinet opening, not just the interior space, to ensure the system fits through the door.
Avoid storing items directly on the cabinet floor in back corners. They become difficult to retrieve without removing everything in front. Use tiered organizers or pull-out systems that bring contents forward.
Reserve corner cabinets for items you use less frequently if installation isn’t an option. Store serving platters, seasonal items, or extra pantry overflow in this space.
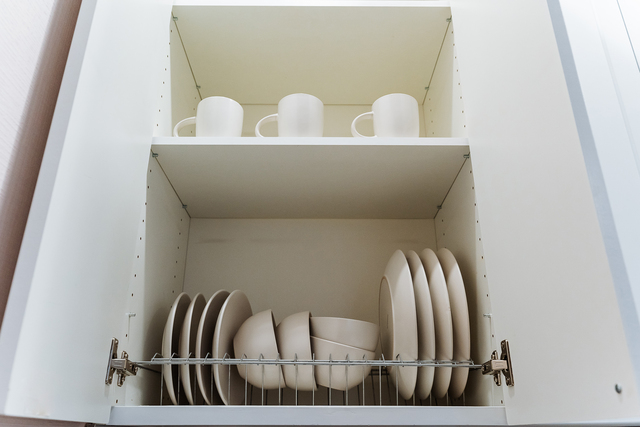
Install Adjustable Shelving for Flexibility
Adjustable shelves allow you to customize spacing based on item height. Most cabinets have pre-drilled holes for shelf pins at one-inch intervals. Move shelf pins to create taller spaces for cereal boxes or shorter spaces for canned goods.
Remove unused shelves if they create wasted vertical space. Store the extra shelf and pins in a garage or basement for future use. One well-spaced shelf often provides more usable storage than two poorly spaced shelves.
Measure the height of your tallest stored items before adjusting shelves. Leave one to two inches of clearance above items for easy removal.
Limit Organizers to Avoid Overcrowding
Too many organizing tools can reduce usable space in small cabinets. Each organizer adds bulk and takes up room. Evaluate whether an organizer truly improves access or just shifts the problem.
Use freestanding organizers before installing permanent solutions. This allows you to test effectiveness without drilling holes. Remove organizers that don’t improve your workflow after two weeks of use.
Count the number of items you’re organizing before buying a solution. A cabinet with six items doesn’t need a 12-slot organizer. Match the organizer size to your actual inventory.
Maintain Organization with Regular Editing
Review cabinet contents every three months. Remove expired food, donate duplicate tools, and relocate items you rarely use. This prevents organizers from becoming cluttered over time.
Return items to their designated spots after each use. Organization systems fail when items aren’t put back correctly. Adjust zones or organizers if you consistently place items in the wrong location.
Avoid buying new kitchen items without removing old ones first. Small spaces require strict one-in-one-out rules to prevent overcrowding. Measure available space before purchasing new cookware or storage containers.