How to Organize Kitchen Cabinets for Baking Sheets
This site contains affiliate links, view the disclosure for more information.
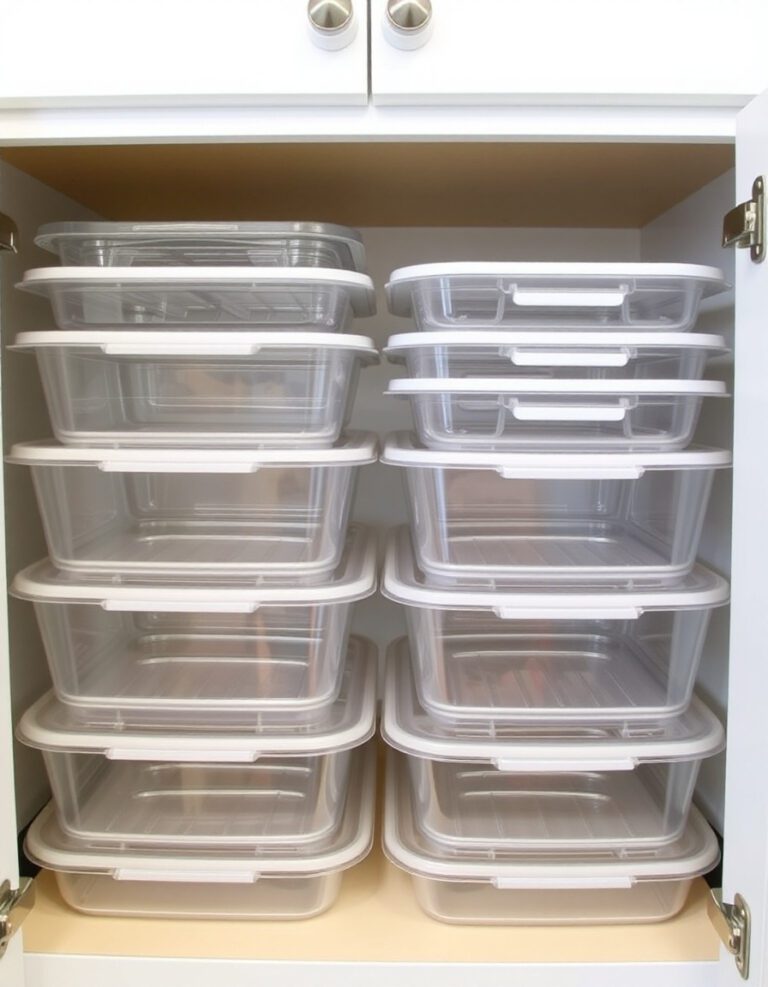
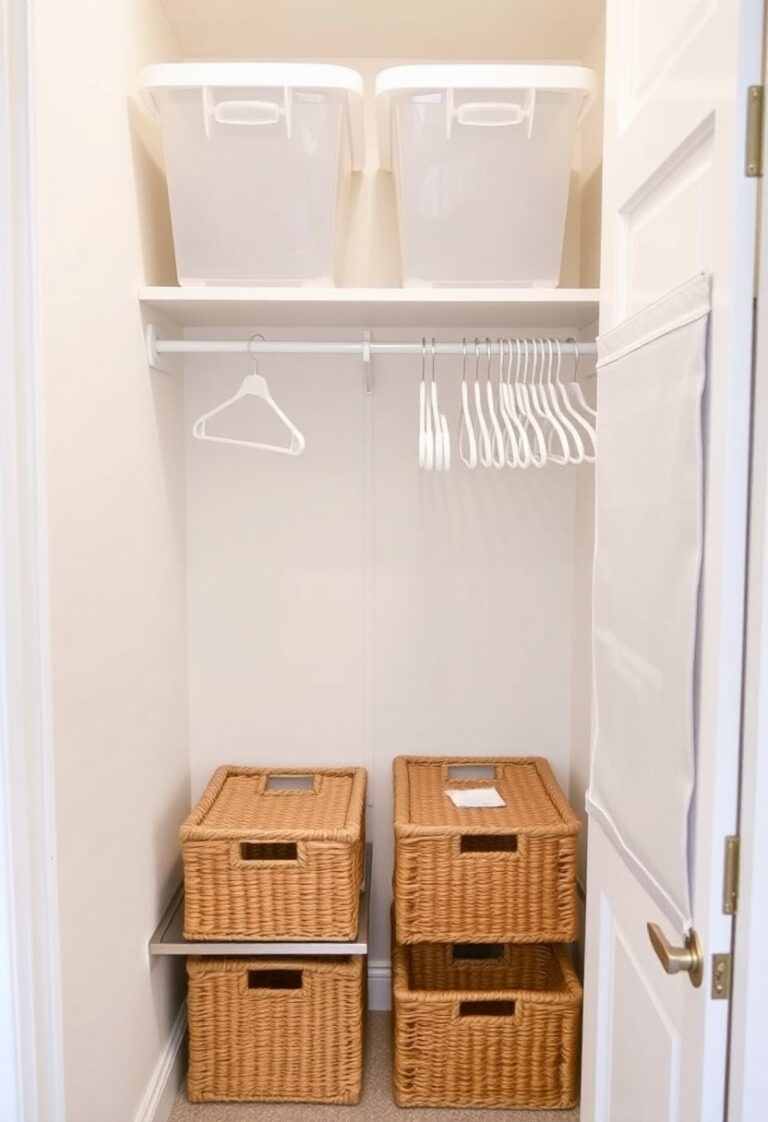
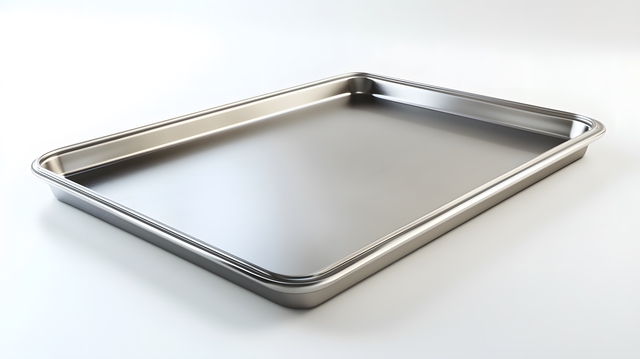
Baking sheets, cutting boards, and flat cookware often create clutter in kitchen cabinets. These items are difficult to stack and tend to fall over when stored vertically without support. Finding the right sheet pan in a jumbled cabinet wastes time and can damage nonstick coatings.
Different cabinet layouts and sheet pan collections require different storage solutions. Some kitchens have deep lower cabinets that work well with vertical dividers. Others have narrow upper cabinets that benefit from horizontal racks or tension rods. The number of baking sheets you own and their sizes also affect which method works best.
This guide covers how to organize kitchen cabinets for baking sheets using dividers, racks, tension rods, and file-style systems. It includes methods for both lower and upper cabinets, material-specific precautions, and measurements for common cabinet sizes.
Measure Your Cabinet and Count Your Baking Sheets
Open the cabinet you plan to use for baking sheet storage. Measure the interior width, depth, and height with a tape measure. Write down these dimensions.
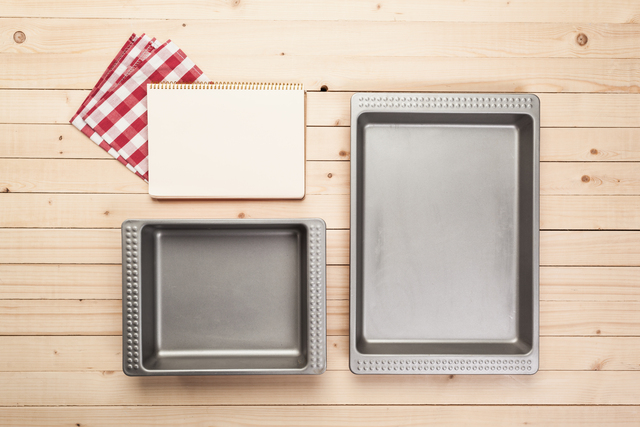
Remove all baking sheets, cutting boards, cooling racks, and similar flat items from your kitchen. Count how many you have. Group them by size: quarter sheet, half sheet, full sheet, or odd sizes.
Check each item for damage. Warped or rusted sheets should be discarded. Nonstick coatings that are peeling can contaminate food and should not be stored with usable cookware.
Decide which items you use weekly versus monthly. Daily-use items should be stored in the most accessible zone of the cabinet. Specialty items can go toward the back or top.
Install Vertical Dividers for Lower Cabinets
Vertical dividers work best in lower cabinets with at least 12 inches of depth. They allow you to store baking sheets upright like files.
Purchase adjustable wire dividers or wooden tension rods designed for cabinet organization. Wire dividers typically have a spring-loaded base that extends from 12 to 24 inches in height. Wooden or acrylic dividers may require screws or adhesive backing.
Place the first divider 2 to 3 inches from the cabinet wall. This creates a slot for your first group of baking sheets. Add dividers every 2 to 4 inches depending on how many sheets you want in each section.
Do not overload slots. Stacking more than 3 to 4 sheets per slot can bend thinner pans or make them difficult to remove.
Test the setup by sliding sheets in and out. Adjust divider spacing if items are too tight or too loose.
Also Read: 21 Ways to Organize Kitchen Small Appliances in Cabinets
Use Tension Rods for Narrow Upper Cabinets
Tension rods create horizontal barriers that prevent baking sheets from sliding forward. This method works in cabinets 8 to 12 inches deep.
Measure the interior width of your cabinet. Purchase a tension rod that extends to that width. Standard curtain rods work for most cabinets.
Install the rod horizontally about 2 to 3 inches from the front edge of the cabinet shelf. The rod should sit at the height of your tallest baking sheet when stored vertically.
Place sheets behind the rod in an upright position. The rod holds them in place and prevents them from tipping forward when you open the door.
This method does not create individual slots. You will need to slide sheets to the side to access those in the back.
Read More: 19 Ways to Organize Kitchen Under the Sink for Easy Access
Add a Pull-Out Rack for Deep Cabinets
Pull-out racks allow you to organize kitchen cabinets for baking sheets in deep lower cabinets where items at the back are hard to reach. These racks slide forward on metal glides.
Purchase a pull-out organizer rated for the weight of your baking sheets. Most kitchen organizers support 10 to 20 pounds.
Measure the cabinet opening width and depth. The rack should be 1 to 2 inches narrower than the cabinet interior to allow smooth sliding.
Install the glide tracks on the cabinet floor or side walls according to the manufacturer’s instructions. Most systems use screws and require a drill.
Attach the rack to the glides. Test the pull-out motion before loading baking sheets. The rack should slide smoothly without sticking.
Store sheets in the rack slots. Label sections if you separate items by type (baking sheets, cutting boards, cooling racks).
Store Sheets Horizontally with Shelf Risers
Shelf risers create two levels of storage within one cabinet shelf. This method works when you have limited cabinet space but extra vertical clearance.
Purchase stackable shelf risers made of metal or plastic. Measure the height clearance in your cabinet to ensure the riser and top layer of sheets will fit.
Place the riser toward the back or center of the shelf. Position your largest baking sheets on the lower level beneath the riser.
Stack smaller sheets or cutting boards on top of the riser platform. Keep stacks to 3 or 4 items to prevent scratching nonstick surfaces.
This method does not keep sheets fully separated. You will need to lift the top layer to access items below.
Use a File-Style Organizer Bin
File-style bins have built-in vertical slots and can be placed inside a cabinet without installation. These are portable and adjustable.
Choose a bin with slots wide enough for your thickest baking sheet plus clearance. Slots should be at least 1 inch wide.
Measure your cabinet shelf to confirm the bin will fit. Most file organizers are 12 to 18 inches wide.
Place the bin on a lower or upper shelf. Insert baking sheets into individual slots with the flat side facing down.
This method works well for renters or anyone who cannot drill into cabinets. The bin can be removed and relocated easily.
Organize by Frequency of Use
Sort baking sheets into three categories: daily use, weekly use, and occasional use. This step improves access speed and reduces cabinet clutter.
Place daily-use items in the front-most slots or the easiest-to-reach zone of your cabinet. Half-sheet pans used for roasting vegetables or reheating food typically fall into this category.
Store weekly-use items in the middle or side sections. These might include quarter sheets for toaster oven cooking or cooling racks.
Position occasional-use items like full-sheet pans or specialty molds toward the back or on higher shelves. These are often needed only for holiday baking or large batch cooking.
Keep a small cutting board or trivet in the same cabinet if space allows. These items are often used alongside baking sheets and benefit from co-location.
Avoid Stacking Nonstick Sheets Directly
Nonstick coatings can scratch when metal surfaces rub together. Scratched coatings lose effectiveness and may flake into food.
Place a sheet of parchment paper, a silicone mat, or a thin kitchen towel between each nonstick baking sheet if you must stack them horizontally. This creates a protective barrier.
Vertical storage eliminates contact between sheets and is the preferred method for nonstick cookware. Use dividers or file organizers to keep each sheet separated.
Inspect nonstick surfaces every few months. Replace sheets with visible scratches or peeling.
Read More:
- How to Organize Kitchen Wooden Spoons and Spatulas
- How to Organize Kitchen Cabinets in Small Spaces
- How to Organize Kitchen Utensils in a Messy Drawer
Label Dividers for Shared Households
In households with multiple cooks, labeled dividers reduce confusion and maintain organization. Labels also help after cabinet reorganization.
Use adhesive labels or a label maker to mark each section: “Half Sheets,” “Cutting Boards,” “Cooling Racks,” or “Cookie Sheets.”
Place labels on the cabinet door, the shelf edge, or directly on dividers. Choose a location visible when the cabinet is open.
Update labels if you change the contents of a section. Remove old labels completely to avoid confusion.
Clean Cabinets Before Installing Organizers
Empty the cabinet completely. Wipe down all interior surfaces with a damp cloth and mild dish soap. Remove crumbs, grease, and dust.
Dry the cabinet thoroughly with a clean towel. Do not install organizers on damp surfaces. Moisture can cause adhesive backing to fail or wood to warp.
Inspect the cabinet for damage. Repair loose hinges or sagging shelves before adding weight from baking sheets and organizers.
Line the cabinet floor with a non-slip liner if desired. This prevents organizers from shifting and protects the cabinet surface from scratches.
Test and Adjust Your System
Load your organized cabinet with all baking sheets and flat cookware. Open and close the cabinet door several times to check clearance.
Remove one sheet from each section to confirm you can access items without moving multiple pieces. Adjust divider spacing if sheets are stuck or difficult to slide out.
Check that heavier items like cast iron baking sheets or thick cutting boards are stored on lower shelves. Upper shelves should hold lighter items to reduce strain on cabinet hardware.
Use the system for one week. Note any items that are hard to reach or sections that become messy. Reorganize as needed based on your actual cooking habits.
For more helpful tips, check out our organization section.